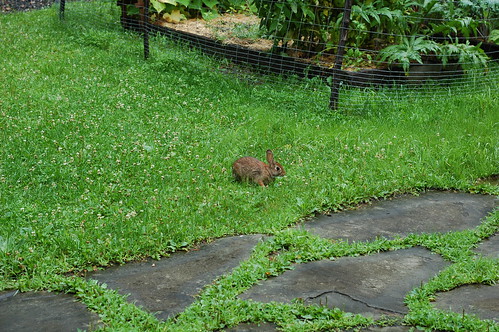
After two months of losing all our tomatoes to the gangs of hungry chipmunks roaming our property, our plants have finally started producing so many ripe 'maters that even the chipmunks can't keep up with the pace and have had to give up their life's work of taking a single bite out of each one just as it nears ripeness. I feel for them, really, I do.
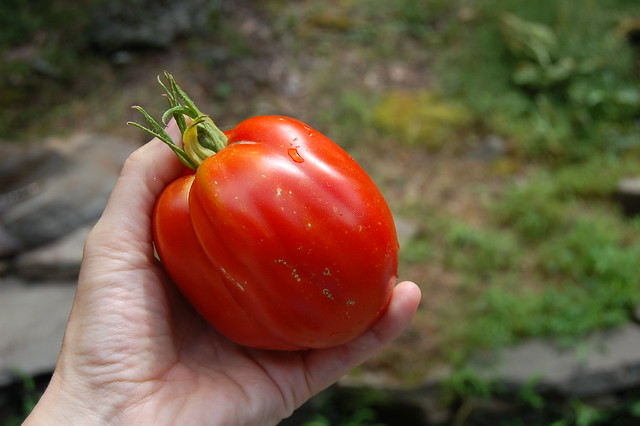
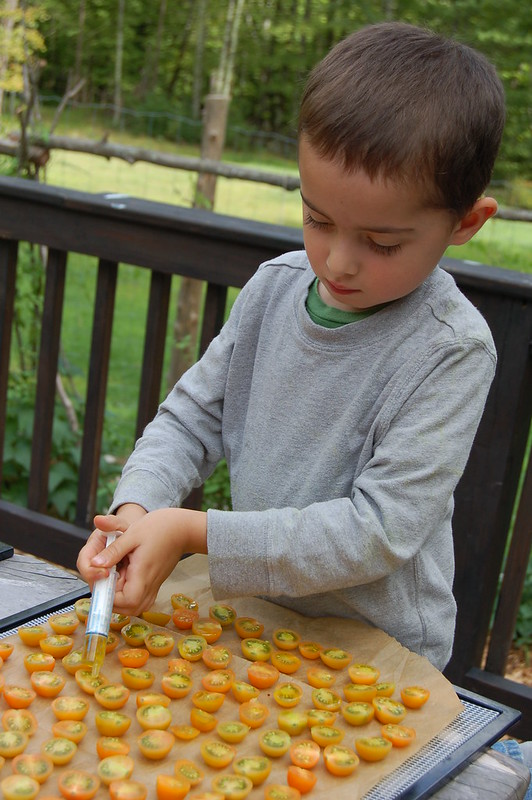
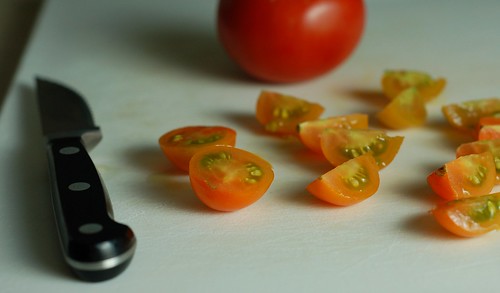
As a result we've been harvesting some big, beautiful juicy red tomatoes and tons of little, yellow-orange sungold cherry tomatoes, too. We've had Excalibur, our food dehydrator, whirring away out on the screened porch turning the tiny golden orbs into tomato candy - these amazing little bites of concentrated sweetness and intensely tomatoey flavor. It's a good project for Will who uses his little doggie knife to cut them in half and then drizzles olive oil over them before they go into the dehydrator.
But I wasn't sure what I wanted to do with the really big ones. Luckily, I happened to catch a great demo on tomato preservation by Amy Jackson of Amy's Takeaway at the Woodstock Farm Festival two weeks ago. One of the things she'd brought with her was a huge tray of roasted heirloom tomatoes with herbs. They looked and tasted incredible. So I filed the idea away in my semi-functional memory and dusted it off yesterday when I started worrying that our kitchen counters might collapse under the weight of the most recent tomato harvest.
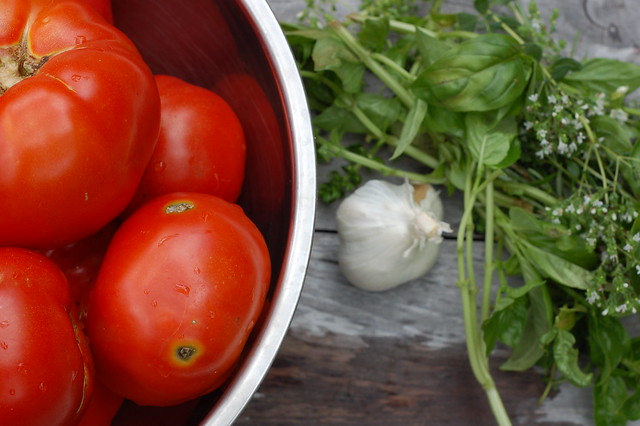
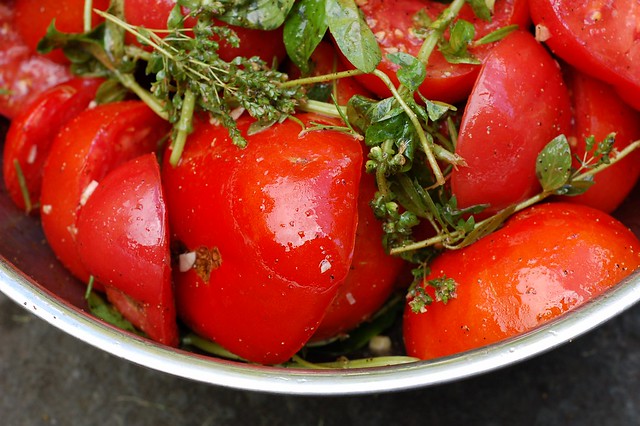
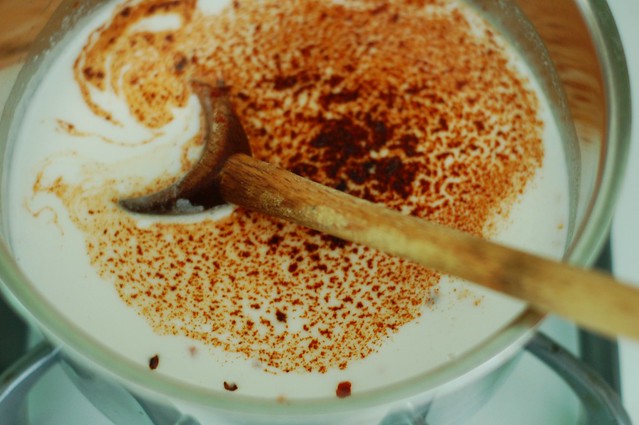
I ran outside and picked a bunch of basil, oregano and rosemary (thyme would also be great). I included the flowers from my basil and oregano plants since Amy says they add great flavor. Then I cut the tomatoes in half, sliced the garlic and tossed it all together with olive oil, salt and pepper.
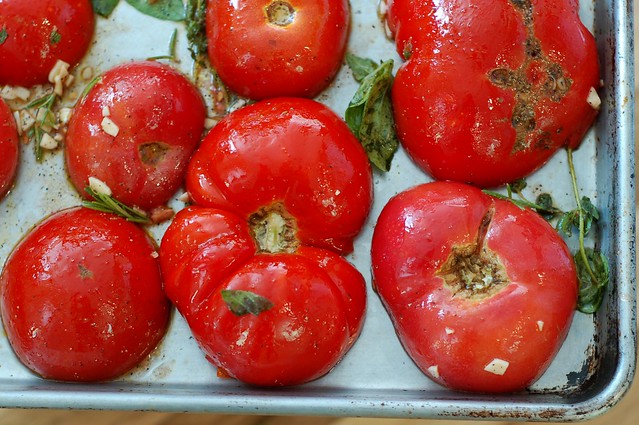
I arranged the tomatoes cut-side down on the baking sheets and put them into the oven.
Shortly afterwards the most beautiful smell - a melting marriage of garlic, herbs and tomatoes - began to creep through the house. If you could bottle the essence of Italian cooking, I imagine that this is what it would smell like. Two hours later I opened the oven to find two beautiful trays of roasted tomatoes.
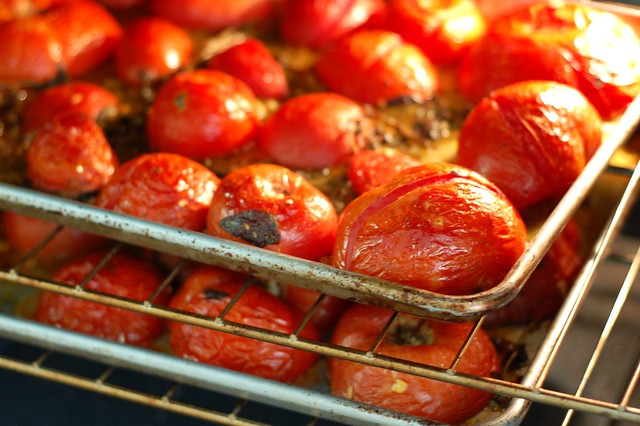
They looked like something you might see on the cover of Saveur...
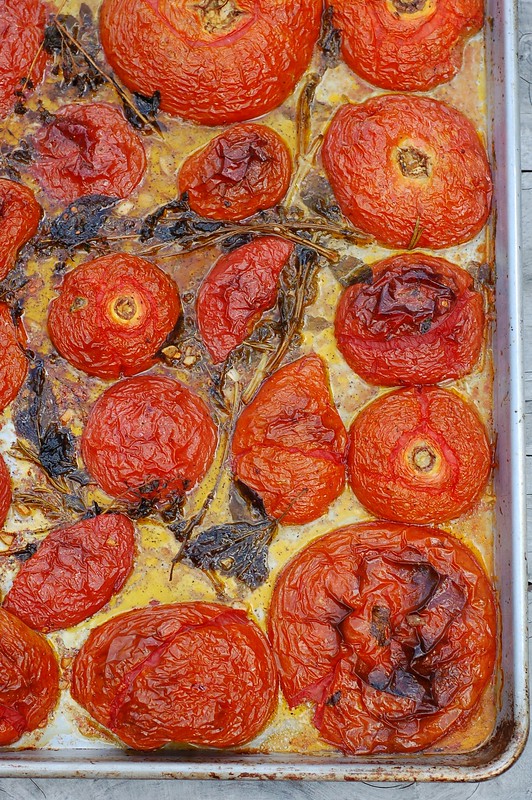
I let them cool off then split them amongst three quart freezer bags for use this winter. This is by far the easiest way I've ever preserved tomatoes and it is definitely among the tastiest.

-- print recipe --Roasted Tomatoes with Garlic & Herbs
Ingredients
* Tomatoes - as many or as few as you have on hand
* Garlic - base the amounts on how many tomatoes you have
* Olive oil
* Sea salt
* Freshly ground black pepper
* Fresh herbs - basil, oregano, thyme and rosemary are all good - you can mix and match depending on what you like and what you have handy
Directions
1. Preheat the oven to 325 and wash the tomatoes and the herbs (you can leave everything on its stalks). Thinly slice the garlic and toss it into a large mixing bowl along with the olive oil, sea salt, pepper and fresh herbs.
2. Slice the tomatoes in half around the middle (the wide way so you don't go through the stem) and add them to the mixing bowl. Toss them gently to ensure they're coated with the herbs, garlic then turn them out onto the baking sheets and turn the tomatoes cut side down.
3. Bake for two hours then remove and let cool. Use however you see fit - these make a great sauce for pasta just as they are or you can also use them as a base for a sauce or stew. Or freeze them for later.
You might also like:
- Tomato Jam - A Sweet, Spicy Spread
- Homemade Barbecue Sauce
- Summer In a Jar - Tomato Sauce With Garlic & Basil


 by Scott Zona via Flickr")