We had a strangely snowless winter here in the Hudson Valley. But the tail end caught us by surprise - a late spring storm followed by several days of frigid temps that decimated the cherry crop (and probably some others) hereabouts. So no glorious outing to pick jewel-like fruits from the trees for us this year.
Fortunately, the Washington State Stone Fruit Growers mailed me a case of perfect sweet cherries as part of their Canbassador program earlier this month.
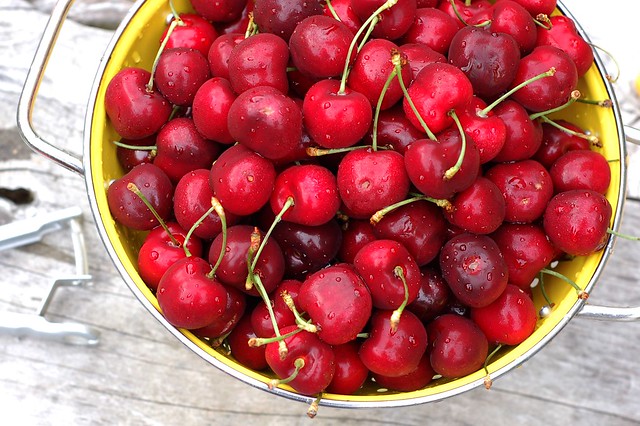
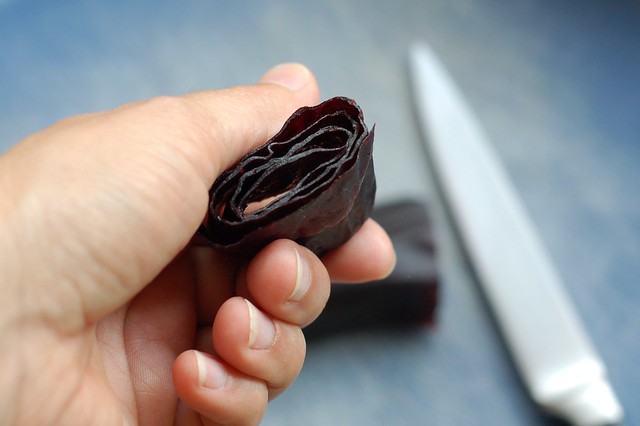
Most of them found their way into hungry mouths, leaving little faces stained purple with their sweet juice. But we held enough aside to make a big batch of cherry berry fruit leathers, adding a bag of frozen blueberries to the colorful mix.
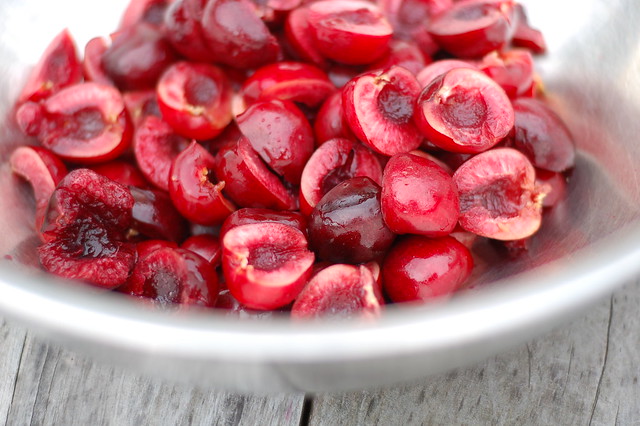
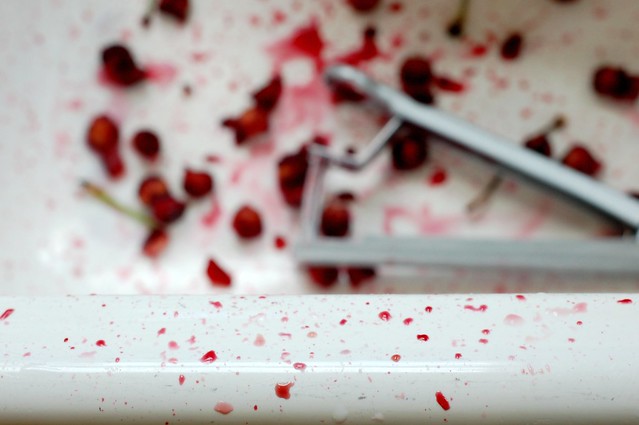
Pitting cherries is a messy affair best tackled outdoors unless you want your kitchen to look like a crime scene. It's also way more fun with a crowd to keep the talk and the pits flowing. The only tool you really need is a cherry pitter. They're a good investment if you ever plan to do anything with cherries - I got this simple, metal one for about $10 a few years ago.
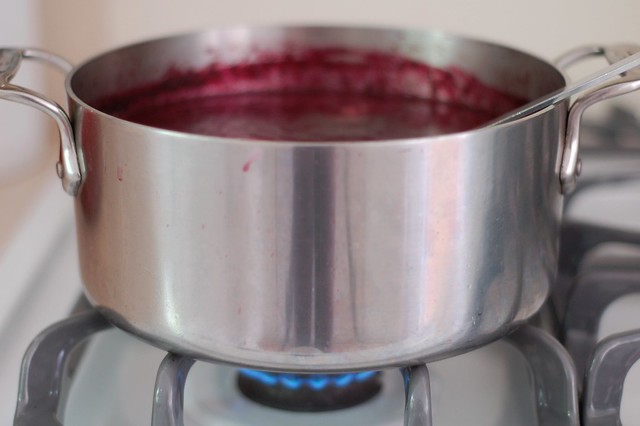
Once you've got those little suckers removed, the rest is fairly easy. Simmer the fruit with a little water until soft and then puree it until smooth, adding a little sugar or not, according to your taste and the natural sweetness of the fruit you're using. Cook the puree on low heat until it's reduced to the consistency of baby food.
Then spread it onto a sheet of parchment paper or a Silpat and cook it on low heat for a number of hours in either the oven or a food dehydrator until it's only the tiniest bit tacky but still flexible. Our food dehydrator, the excellent Excalibur, allows us to dry foods on a larger scale without heating the house up on hot days but the oven works just fine, too.
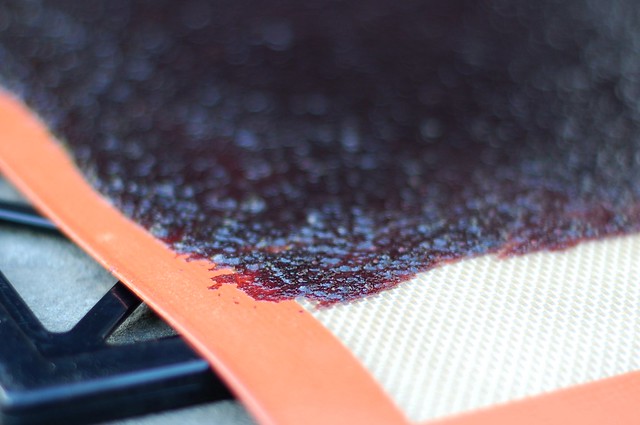
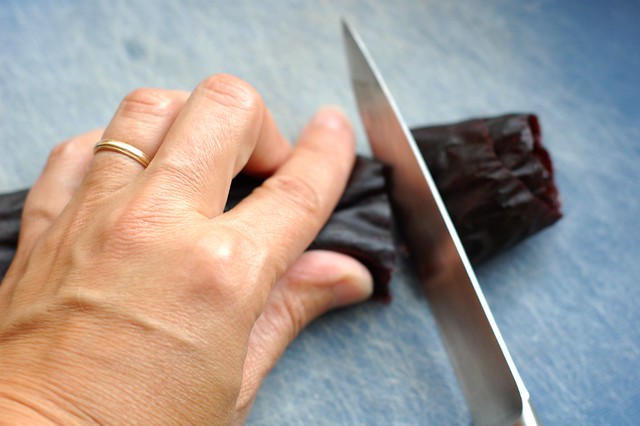
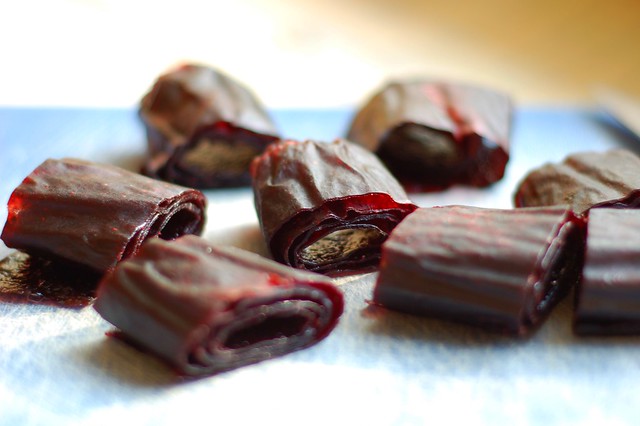
Then you let it sit until it's cool enough to handle, roll it up and slice it into whatever width strips you like.
Et voila, delicious, preservative-free fruit leathers! You can store them rolled up in an airtight container at room temperature for about a month (maybe a bit longer during the cold months and a bit shorter during the warm months).
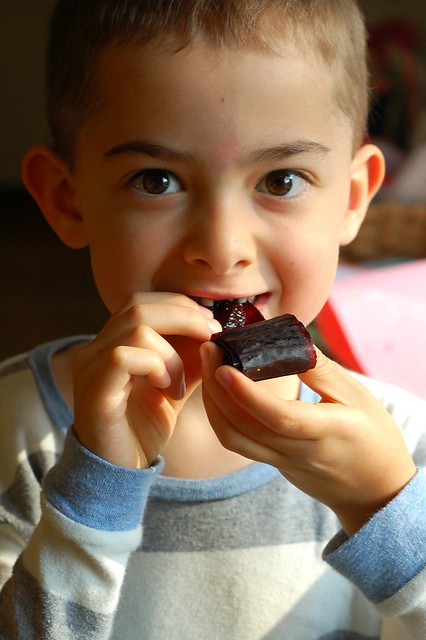
Make a big batch, they go quickly (even if you only have one front tooth)...
-- print recipe --
Cherry Berry Fruit Leather
Adapted from Put 'em Up!
Ingredients
* 4 cups sweet dark cherries, stemmed and pitted (a cherry pitter will definitely come in handy)
* 2 cups blueberries, rinsed and dried
* A large splash (roughly 1/4 cup) of water
* 1/3 cup sugar (optional)
* You will also need either unbleached parchment paper or a Silpat
Directions
1. Put the cherries, blueberries and water in a medium-sized pot (taller sides are better since you'll be blending in the pot) and bring them to a boil. Simmer until the fruit begins to break down, about 10 minutes. Puree the fruit, using an immersion blender or by pouring it into a blender and then back into the pot again.
2. If you're using the oven, preheat it to 175° F. Line a jelly-roll pan or rimmed baking sheet with unbleached parchment paper or a Silpat and set aside.
3. Add the sugar and continue to simmer the fruit puree over low heat, stirring frequently, until it thickens to the consistency of baby food - this may take 10-15 minutes.
4. Spread the sweetened, thickened puree onto the baking sheet, tilting to create an even layer about 1/4-inch thick. The edges will dry out more quickly so try to leave them a tiny bit thicker.
5. If you're using the oven, bake until just tacky to the touch which can take anywhere from 3-6 hours, depending on how juicy your puree is. If you're using a food deyhdrator, set it to 130° F and cook for between 6-12 hours, testing every hour or so until smooth to the touch with no visibly wet spots.
6. Cool to room temperature. Slide the parchment paper or Silpat onto a cutting board and peel the leather off. Then roll each sheet up and slice it into two- to three inch-wide pieces. Store, rolled up in an airtight container on the counter for up to a month.
Cherry Berry Fruit Leather
Adapted from Put 'em Up!
Ingredients
* 4 cups sweet dark cherries, stemmed and pitted (a cherry pitter
* 2 cups blueberries, rinsed and dried
* A large splash (roughly 1/4 cup) of water
* 1/3 cup sugar (optional)
* You will also need either unbleached parchment paper or a Silpat
Directions
1. Put the cherries, blueberries and water in a medium-sized pot (taller sides are better since you'll be blending in the pot) and bring them to a boil. Simmer until the fruit begins to break down, about 10 minutes. Puree the fruit, using an immersion blender or by pouring it into a blender and then back into the pot again.
2. If you're using the oven, preheat it to 175° F. Line a jelly-roll pan or rimmed baking sheet with unbleached parchment paper or a Silpat and set aside.
3. Add the sugar and continue to simmer the fruit puree over low heat, stirring frequently, until it thickens to the consistency of baby food - this may take 10-15 minutes.
4. Spread the sweetened, thickened puree onto the baking sheet, tilting to create an even layer about 1/4-inch thick. The edges will dry out more quickly so try to leave them a tiny bit thicker.
5. If you're using the oven, bake until just tacky to the touch which can take anywhere from 3-6 hours, depending on how juicy your puree is. If you're using a food deyhdrator, set it to 130° F and cook for between 6-12 hours, testing every hour or so until smooth to the touch with no visibly wet spots.
6. Cool to room temperature. Slide the parchment paper or Silpat onto a cutting board and peel the leather off. Then roll each sheet up and slice it into two- to three inch-wide pieces. Store, rolled up in an airtight container on the counter for up to a month.
You might also like:
 |  |  |