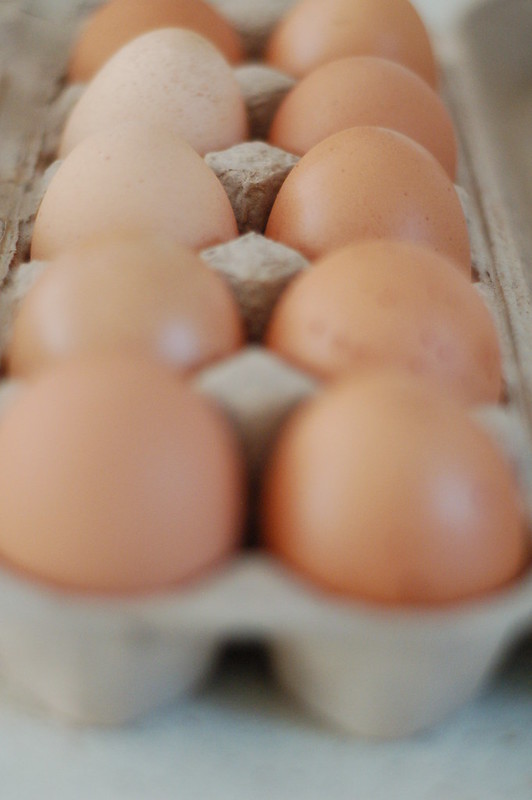
We recently decided to start buying the organic, pasture-raised (which is even better than free-range!) eggs that Eatwell Farm offers through their CSA. Although they're a bit more expensive, people rave about them so we figured that half a dozen every two weeks was probably a worthwhile investment.
I've been enjoying reading about Eatwell's relatively new chicken operation for the past year on their blog and was eager to see what kind of eggs "the girls" (as they call their flock of roughly 2,500 laying hens) are producing. Here they are enjoying their first day in a brand new pasture of cover crop (according to the farm's blog, they just love new pasture!)

Some of the relative advantages "the girls" enjoy over most egg-laying hens in the U.S. are:
- Plenty of room to roam, scratch and peck as they please
- 100% organic vegetarian diet -- a mix of grains, rejected organic produce from the farm and whatever bugs and other good things they can forage on their own
- Comfortable, roomy homes (which they call "chicken palaces" on the farm) for laying and sheltering from bad weather
- Shade screens and plenty of fresh water during the summer
- They get to keep their beaks, unlike many commercial hens
- No antibiotics or hormones, of course
- Protected from predators of all kinds by Daisy, who is quite possibly the world's cutest guard dog. (The picture below is of her as a puppy in the pick up truck on her way to her new home on the farm. She's all grown up and trained now but wasn't she adorable?!)

With perks like these, how could the chickens help but lay extra delicious, extra nutritious eggs? According to the farm's web site, the eggs not only taste better but are also better for you with lower levels of cholesterol and much higher levels of Omega-3 fatty acids and other micronutrients.
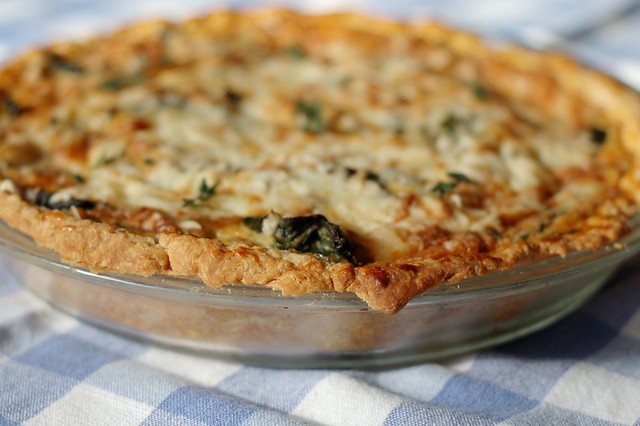
Since these are extra special eggs, I felt they deserved an extra special recipe. And as we'd invited some friends over for Sunday brunch, I thought that perhaps a quiche would be appropriate. This was my first quiche ever and I have to say I was pretty darn pleased with the way it turned out!
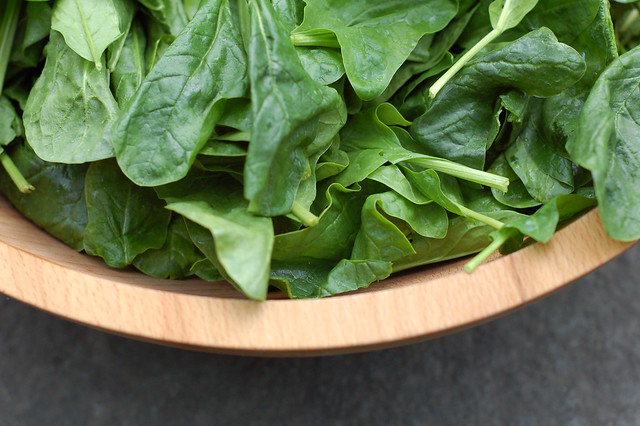
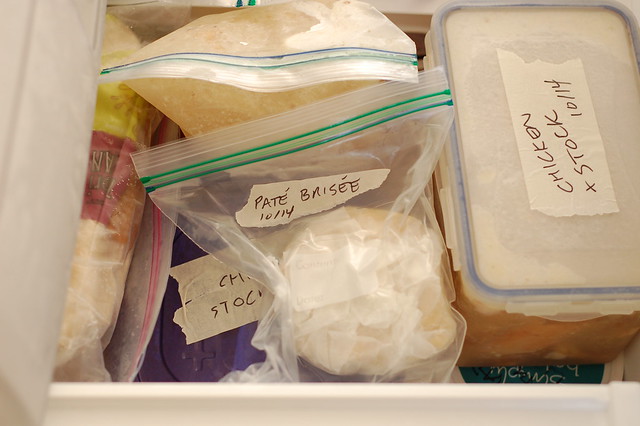
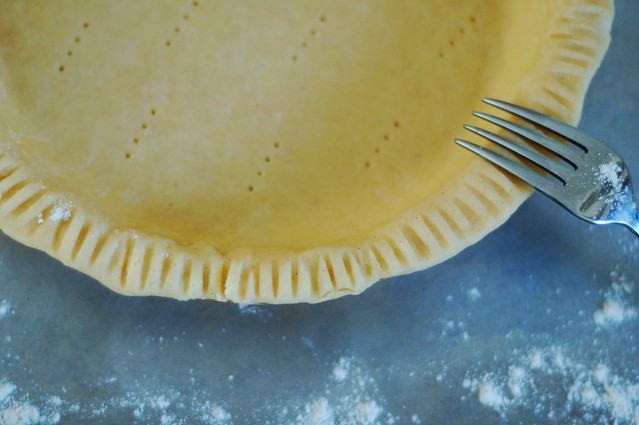
In addition to the Eatwell eggs, I used some of the delicious spinach we'd received in our produce box, along with onions, fresh thyme, heavy cream, and cheddar and parmesan cheeses. The crust I made was a typical pate brisee though you can also use pretty much any pie crust (homemade or pre-baked).
As long as you don't have to make the crust from scratch, this is actually a pretty quick dish to prepare. A lot of cookbooks recommend making extra pate brisee and freezing it in single crust-sized portions and I think that'd be a good way to go (or you can buy the prepared pie shells.) Since the fillings are totally flexible (goat cheese, gruyere, sun dried tomatoes, asparagus, ham, bacon, etc.,) you can just use whatever you happen to have on hand. Bon appetit!

-- print recipe --Spinach, Onion, Cheese & Thyme Quiche
Ingredients
* 3 large or 4 medium-sized eggs, lightly beaten (reserve some of the egg yolk for brushing the pie crust)
* 1 1/2 cups heavy cream
* 1/2 tsp salt
* 1/4 tsp freshly ground black pepper
* 1 small onion, sliced
* 1 head of spinach, stems removed, with the leaves washed, dried and coarsely chopped (if leaves are large)
* 2 tsps butter
* 1 Tbsp fresh thyme, washed, dried and chopped
* 1 cup grated cheddar cheese (sharp)
* 1/4 cup grated parmesan cheese
* 1 chilled pâte brisée dough or other prepared pie crust, enough for a 9 1/2 inch pie crust
* You will need a 9 1/2 inch pie or tart pan.
Directions
1. Prepare the pie crust. Preheat the oven to 375. If using a crust you've made from scratch, you will need to pre-bake it for a little while to prevent it from getting soggy - this is called "blind baking". Using a rolling pin, roll the chilled dough out on a floured surface until it is 1/8 of an inch thick and will fit your pie dish or tart pan. Drape the dough loosely in the pan, making sure that it fits into all the corners, then gather the edges together with your fingertips to make a solid and even crust (you can crimp it with your fingers or use the tines of a fork if you prefer that pattern.) Brush the dough with the egg yolk, prick the bottom in several places with the tines of a fork -- this is to allow air to escape and prevent it from ballooning up while it pre-bakes, alternately, you can also weight the pie crust down with metal pie weights, raw beans in parchment paper, or by simply placing another pie dish inside it to keep it tamped down. Bake for 10 minutes then remove and let cool.
2. Make the filling: saute the onion in butter until it is nearly translucent. Add the spinach and cook until thoroughly wilted. Season with salt and pepper. If the spinach/onion mixture seems wet, squeeze the excess water out (mine did not require this step.) Add the cream to the eggs and stir well to combine. Throw in the spinach and onions, chopped thyme and season with salt and pepper.
3. Assemble the quiche. Begin by scattering half the cheese on the bottom of the pan then pour in the egg mixture with the veggies. Top with the remaining cheese and bake at 375 degrees for 25-35 minutes, until the egg custard is set all the way through. Remove and let cool slightly before serving. This goes very nicely with a green salad.
You may also like:
- Caramelized Onion & Apple Slab Tart
- Sweet Pepper & Sausage Frittata
- Frittata with Chèvre, New Potatoes & Herbs