
%20(1).png)
This time of year is a bonanza for anyone who enjoys cooking - or eating. Our garden is still moving at full steam, churning out zucchini, lettuce, arugala, eggplants, and herbs. And TOMATOES!
We planted eight tomato plants this season - two cherry varieties and six that are a mix of paste, a yellow-shouldered beefsteak, and another variety that produces adorably round and red little 'maters.
Although this is fewer plants than we've grown in years past, it's enough to produce a steady stream of delicious red fruit (yes, tomatoes are fruits, odd as that seems) that's keeping us in sauces and salads with some weekly harvests that are big enough to roast on sheet pans with garlic and herbs to freeze and I've also done one big batch of salsa that's now lining the shelves of our pantry. If the mild temps of fall stretch on long enough (a recent trend driven by climate change that I consider to be one of it's few silver linings), I hope to have enough to also process a batch or two of pureed tomatoes to can for the winter.
After years of facing an (over)abundance of tomatoes, I've developed a treasure trove of ways to enjoy them - both now and also later in the year, when the memory of these warm, sunny days and the pungent smell of the tomato plants' slightly sticky leaves and stalks is hazy and distant.
Here are seven of my favorite tomato recipes to make right now while the supply is strong and they are at their peak and five ways you can preserve summer's perfect tomatoes to enjoy all winter long.
FOR NOW
1. Tomato Corn Pie With Butter-Brushed Biscuit Crust
Like everything Deb at Smitten Kitchen makes, this pie is heart-stoppingly delicious. Biscuit topping, sweet corn, tomatoes, and cheddar cheese make for serious summer-themed comfort food.

2. Summer Pasta with Tomatoes, Sweet Corn, Basil & Arugula (+ Optional Bacon)
This easy late summer meal is packed with great flavors and a nice mix of textures—crunchy corn, juicy tomatoes, crispy bacon (optional!), and just-tender pasta. Fresh arugula adds a nice peppery green counterpoint to the sweetness of the onions, corn, and tomatoes. A perfect weeknight dinner for the busy first few weeks of school.

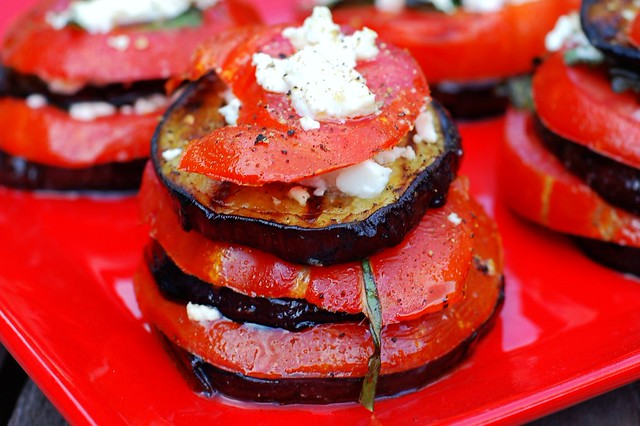
3. Grilled Eggplant Stacks With Tomato, Feta & Basil
These leaning Tower of Pisa-esque delights are an easy way to make the most of the season's bounty. Grilled eggplant and tomato slices are drizzled with basil-infused olive oil, layered with sliced basil and feta cheese, seasoned with salt and pepper, and stacked for layers of melting-gooey-sweet-savory-herby yumminess.
4. Tomato Tart Two Ways (Or Invent Your Own Way)
Inspired by a recipe in one of the Canal House Cooking books that my fairy godmother, Kali makes, these impressively fancy-looking tarts are made very simple by the use of frozen puff pastry. Inspired by a recipe in one of the Canal House Cooking books that my fairy godmother, Kali makes, these impressively fancy-looking tarts are made very simple by the use of frozen puff pastry. Sweet ripe tomatoes, good cheese (either goat cheese or Gruyère), caramelized onions, and fresh thyme make these tarts a decadent treat. If you prefer a different treatment for the tomato toppings, go for it - the concept is simple and customizable.

5. Roasted Eggplant & Tomato Gratin
This is basically a healthier, lighter, and actually tastier take on eggplant parm that comes from Martha Rose Shulman's NYTimes series. It's packed with flavors, very hearty, and deeply satisfying. I consider it a must-make.

This classic French tian is as gorgeous to look at as it is to eat. You alternate thin slices of tomatoes, zucchini, and eggplant in neat rows, drizzle generously with good olive oil, garlic, and fresh herbs, and let it slow-bake in the oven. The vegetables soften and caramelize in their own juices, creating a deeply flavorful side dish that pairs with almost anything.

7. Marcella Hazan's Tomato Sauce with Onion & Butter
This sublimely delicate, rich, yet fresh-tasting sauce is made with tomatoes, onion, and butter.Using butter instead of olive oil makes the sauce so rich and smooth and, well, buttery. It is a perfect way to elevate end-of-the-season tomatoes.

FOR LATER
1. Simple Tomato Sauce with Garlic & Herbs
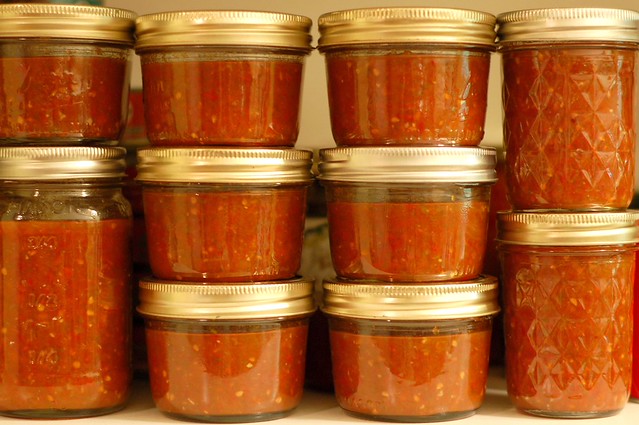
Canning is a Project but you'll thank yourself on a cold, dark night when you haven't had a minute to think about what to make for dinner and can just grab a jar of this sauce from the shelf to go with your favorite pasta and a salad. I think of it as "summer in a jar."

This recipe was given to me by my husband's beloved (and sadly departed) Aunt Maggie. It's just like her - refreshingly unfussy and undeniably awesome. We try to can enough jars to make it through the year until tomato season swings around again as storebought is for the birds after you've tried this recipe.
3. Roasted Tomatoes with Garlic & Herbs
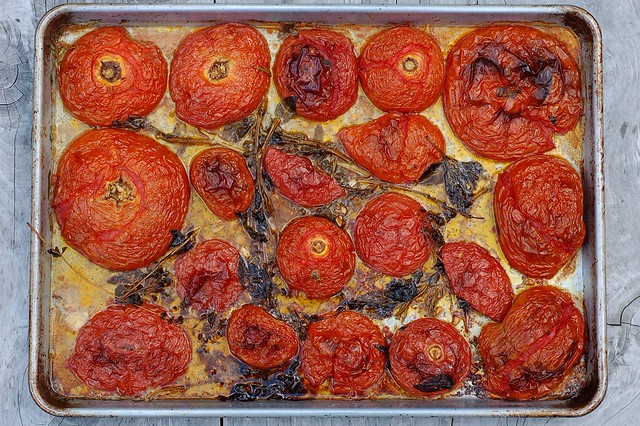
This is my go-to when I have too many tomatoes to eat and don't want to deal with canning anything. You can store them in a glass jar topped with a glug of olive oil and pop them in the freezer to defrost later in the year.
4. Tomato Soup - Like Campbells But Better
What better late fall or winter lunch is there than tomato soup? Line your pantry shelves with jars of this much better than Campbells soup to make you feel rich all winter long.

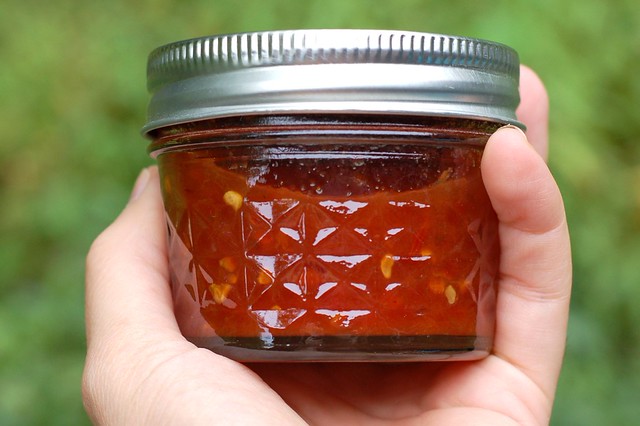
5. Tomato Jam
Remember when I mentioned earlier that tomatoes are fruits? Well, they make a fantastic jam - spiced, sweet and rich. Just the thing to take any cheese plate to eleven or give as a gift at holiday time.


.png)


