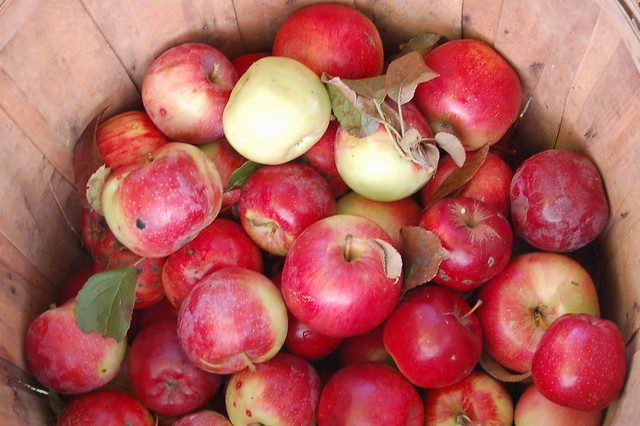
Last Wednesday we picked up our last CSA share until the spring. And Saturday we had our first full-fledged snowstorm of the season. Sigh. This time of year makes me miss Berkeley quite a bit.
But enough whining. On to the food. The final haul from Hearty Roots Farm included this lovely little cauliflower. I've always been quite susceptible to the unusual, earthy beauty of the brassica family - cauliflower, romanesco, cabbage - each one so unique and fascinating-looking.

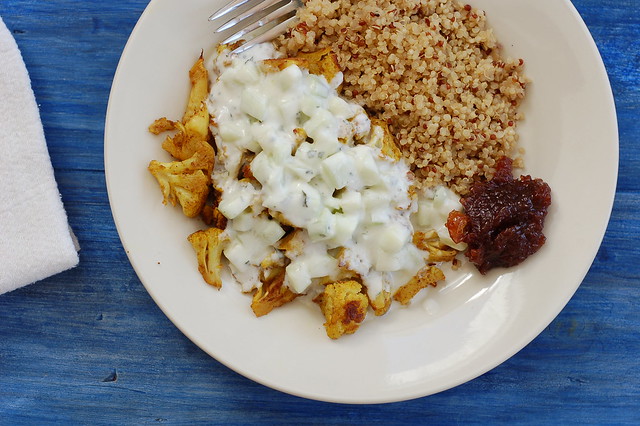
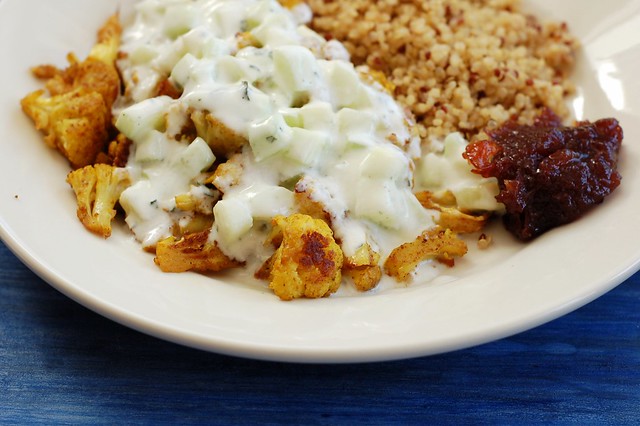
I decided that the proper way to pay homage to this beautiful brassica was by tossing it with a liberal amount of ground cumin, curry powder, salt and olive oil and roasting it with thick slices of red onion.

Roasting is one of my favorite ways of preparing cauliflower because it brings out the sweetness and enhances its slightly nutty flavor. It's downright addictive, even without the addition of curry powder. Combine the two and you've got the culinary equivalent of crack-cocaine (or so I imagine - my youth was not quite that adventurous.)

I served it with jasmine rice, a cooling, creamy cucumber raita and a smattering of mango chutney.

'Twas easy, tasty and satisfying. But I have to say that the leftovers we ate for lunch the following day tasted even better.
-- print recipe --
Roasted Curried Cauliflower
Serves 3-4
Ingredients
* 1 large (or 2 small) cauliflower, washed and cut into florets
* 1 large red onion, sliced
* 2 cloves of garlic, minced or pressed
* Couple generous glugs of olive oil
* 1 tsp sea salt
* 1/2 tsp Freshly ground black pepper
* 1 Tbsp Ground cumin
* 3 tsps curry powder and/or garam Masala
* Pinch of red pepper flakes (optional)
* Cucumber herb raita (recipe here) for serving
* Chutney for serving
Directions
1. Preheat the oven to 400. Toss the cauliflower with the spices, onion, garlic and olive oil until well coated. Turn out onto a thick baking sheet in a single layer and roast, turning several times, for 35-45 minutes, until tender when pierced with a fork.
2. While you're waiting for the cauliflower to roast, make the raita and the rice. For the raita, see below. Prepare the rice according to the instructions for whatever type you're using.
3. Serve warm and hope you have enough for leftovers the next day!
You might also like:
- Easiest Coconut Vegetable Curry
- Roasted Broccoli & Sweet Potato Rice Bowl with Miso-Sesame Dressing
- Roasted Delicata Squash & Tortellini Salad With Greens, Cranberries & Pepitas