

Simply put, this curry is "the bomb." It's simple, delicious, easy to make and good for you. It was inspired by a similar dish my brother-in-law, Daniel, made for dinner a few weeks ago. He's a loose kind of cook -- instead of reading a recipe he relies on gut instinct. And his instincts were right on in this case!
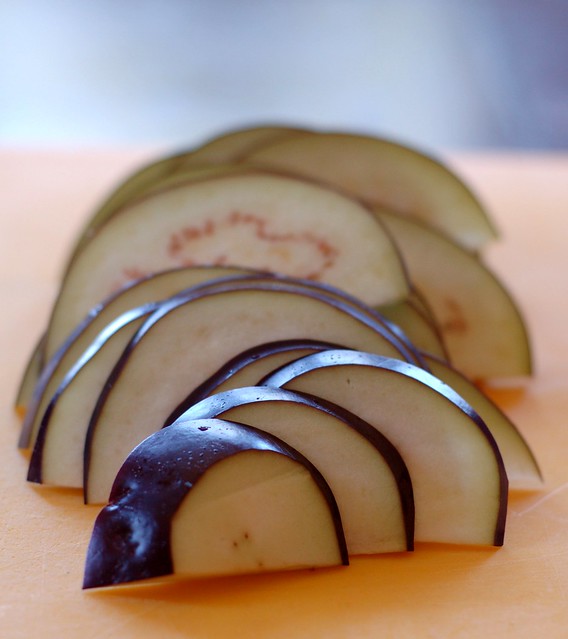
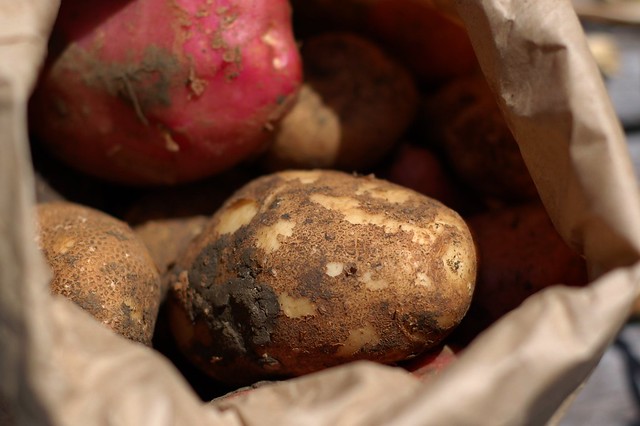
Although the recipe below calls for green beans, kabocha squash and chard since those are the things we'd received in our produce box this past week, you could just as easily substitute spinach or kale for the chard, turnips or carrots (or both) for the squash, add some potatoes, etc. Likewise, though I've listed curry powder below, you could toast your own spices if you've got the time and inclination or you could also use one of the jarred Thai curry pastes
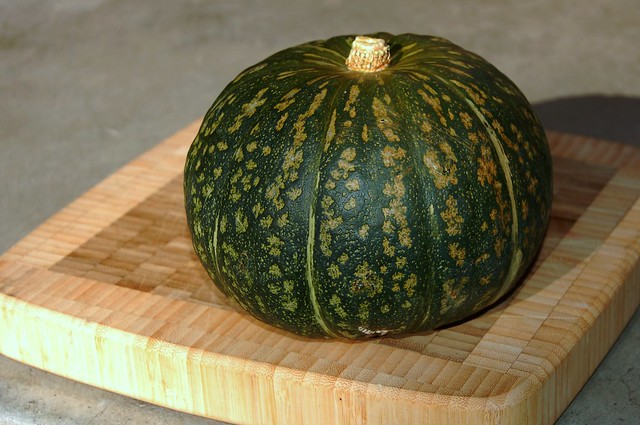
That said, the kabocha squash is truly excellent in this curry -- its dense, starchy flesh lends lots of substance and its sweet, meaty flavor complements the coconut milk nicely.

Besides tasting really good, one of the nicest things about this dish is its simplicity. It's a great way to work a bunch of fresh veggies into a delicious meal. I'd recommend serving it with short grain brown rice and a salad.

-- print recipe --Quick Coconut Vegetable Curry
Serves 6
Ingredients
* 1 small to medium-sized kabocha squash, halved, seeds removed and cut into 1-inch cubes
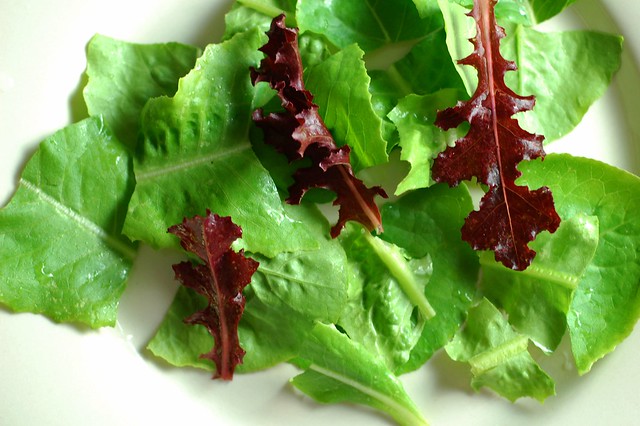
* 1 bunch chard, washed, stems removed and chopped into 1-inch pieces, leaves cut into ribbons
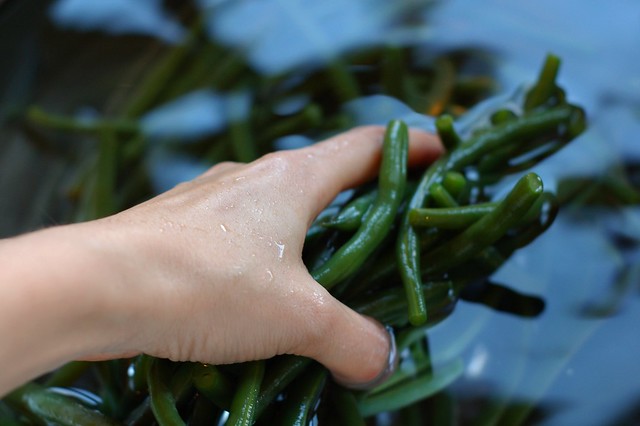
* 2 big handfuls of green beans, washed and trimmed
* 2 medium onions, sliced
* 3 cloves of garlic, minced
* 1 tsp minced fresh ginger
* 2 cans of coconut milk (my Thai cooking teacher recommends the Chaokoh brand and after doing her blind taste-test, I have to agree with her!)
* 3 cups of vegetable broth
* A very large handful of fresh cilantro, washed and chopped
* Freshly ground black pepper
* 3 Tbsps curry powder and/or garam masala (you can use more if you like)
* 2 tsps canola oil or ghee
* A pinch of red pepper flakes
* 1 Tbsp sugar
Directions
1. Start by prepping the veggies: Cut the squash in half, remove the seeds and then cut the flesh into 1-inch cubes (there's no need to peel kabocha squash). Wash the chard and remove the stems, chopping them into 1-inch long pieces. Cut the chard leaves into ribbons. Slice the onions and mince the garlic and ginger. Wash and chop the cilantro.
2. Once all the veggies are prepped, put your rice on to cook. I recommend either short grain brown rice or basmati rice for this curry.
3. In a large pot, saute the onions, garlic, ginger and chili flakes in the oil or ghee for several minutes, cooking until the onions have begun to soften and become translucent. While that stuff is frying, boil the water for the vegetable bouillon and mix it well (unless you're using prepared vegetable broth).
4. Add the vegetable broth and the coconut milk to the pot then toss in the cubed kabocha squash and season it all with curry powder, garam masala, pepper and sugar (there's most likely no need for salt since the vegetable broth should be fairly salty.) Bring to a boil then reduce the heat to medium-high and simmer for 5-10 minutes or until the squash is beginning to feel tender when poked with a fork.
5. Add the green beans and the chard stems and simmer for another 3-5 minutes or until the green beans feel done to your liking. Then toss in the ribbons of chard leaf and the cilantro and cook for another 2-3 minutes.
6. Allow to cool slightly and serve over the warm rice.
Serves 6
Ingredients
* 1 small to medium-sized kabocha squash, halved, seeds removed and cut into 1-inch cubes
* 1 bunch chard, washed, stems removed and chopped into 1-inch pieces, leaves cut into ribbons
* 2 big handfuls of green beans, washed and trimmed
* 2 medium onions, sliced
* 3 cloves of garlic, minced
* 1 tsp minced fresh ginger
* 2 cans of coconut milk (my Thai cooking teacher recommends the Chaokoh
* 3 cups of vegetable broth
* A very large handful of fresh cilantro, washed and chopped
* Freshly ground black pepper
* 3 Tbsps curry powder and/or garam masala (you can use more if you like)
* 2 tsps canola oil or ghee
* A pinch of red pepper flakes
* 1 Tbsp sugar
Directions
1. Start by prepping the veggies: Cut the squash in half, remove the seeds and then cut the flesh into 1-inch cubes (there's no need to peel kabocha squash). Wash the chard and remove the stems, chopping them into 1-inch long pieces. Cut the chard leaves into ribbons. Slice the onions and mince the garlic and ginger. Wash and chop the cilantro.
2. Once all the veggies are prepped, put your rice on to cook. I recommend either short grain brown rice or basmati rice for this curry.
3. In a large pot, saute the onions, garlic, ginger and chili flakes in the oil or ghee for several minutes, cooking until the onions have begun to soften and become translucent. While that stuff is frying, boil the water for the vegetable bouillon and mix it well (unless you're using prepared vegetable broth).
4. Add the vegetable broth and the coconut milk to the pot then toss in the cubed kabocha squash and season it all with curry powder, garam masala, pepper and sugar (there's most likely no need for salt since the vegetable broth should be fairly salty.) Bring to a boil then reduce the heat to medium-high and simmer for 5-10 minutes or until the squash is beginning to feel tender when poked with a fork.
5. Add the green beans and the chard stems and simmer for another 3-5 minutes or until the green beans feel done to your liking. Then toss in the ribbons of chard leaf and the cilantro and cook for another 2-3 minutes.
6. Allow to cool slightly and serve over the warm rice.
A few other recipes you might like:
- Curried Cauliflower With Spinach and Ginger
- Chicken Curry With Mustard Greens and Kabocha Squash
- Sweet Simmered Kabocha Squash


