
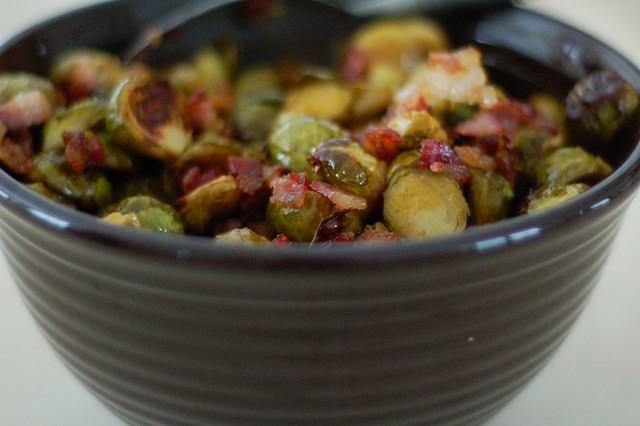
I've always liked Brussels sprouts, even as a little girl. But I think this recipe would win over even the the most strident anti-sprout-ite...
Bacon and maple syrup is a simply magical combination. And they both go beautifully with the sweet, homey flavor of Brussels sprouts. The bacon adds a rich, crispy saltiness and the maple syrup adds a smoky sweetness to these hearty little cabbages. The roasting also augments the natural sugars in these petits choux.

The hostess of the lovely Thanksgiving gathering we attended had asked us to bring Brussels sprouts again (last year I made this scrumptious version with a garlicky buttered breadcrumb topping) and I knew I wanted to do something involving bacon and maple syrup. I looked at a bunch of recipes and decided that this one from the Boston Globe looked perfect -- simple and delicious.
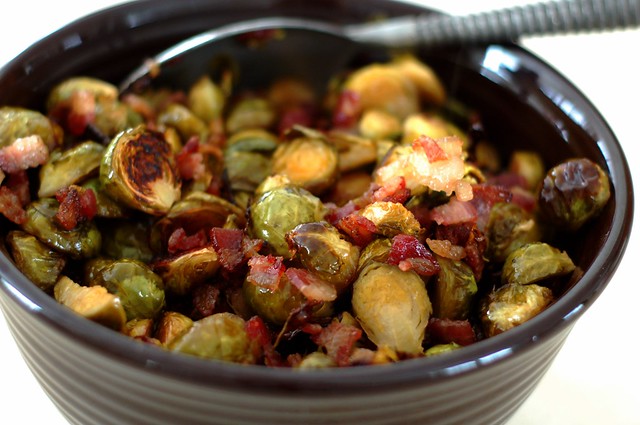
It turns out that they are even better than you might suspect. And pretty easy to make, too. In fact, they were so good (and so easy) that I made them for Christmas Eve dinner with my family along with baked Yukon Gold 'taters and a succulent glazed ham from cousin Norah's farm in Vermont. Not surprisingly, the sprouts were all eaten by meal's end.
Happy new year to you all. Hope it is a healthy, happy one.
-- print recipe --Maple Bacon Roasted Brussels Sprouts
Serves 6-8 as a side dish
Ingredients
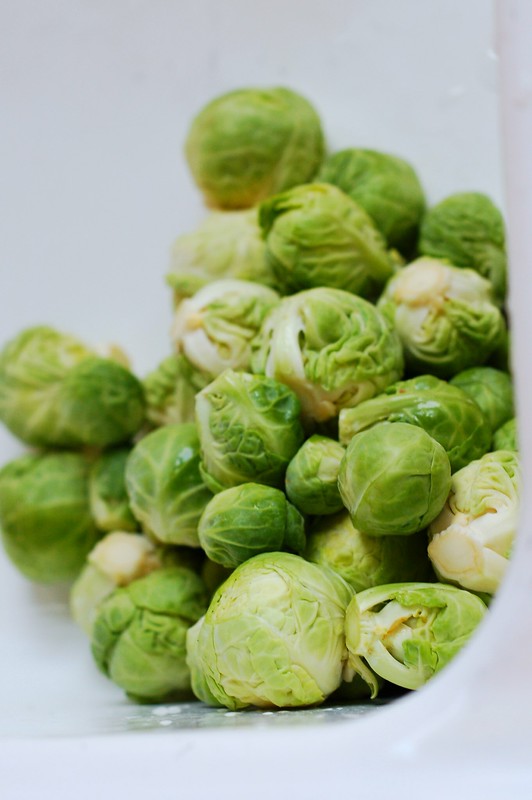
* 2 pounds Brussels sprouts, ends trimmed, outer leaves removed (if they look like they need it) and halved
* 2 Tbsps olive oil
* 2 Tbsps pure maple syrup
* 3 slices of bacon, cut into 1/2-inch pieces
* Sea salt and freshly ground black pepper, to taste
Directions
1. Preheat oven to 400 degrees. Have on hand a large rimmed baking sheet.
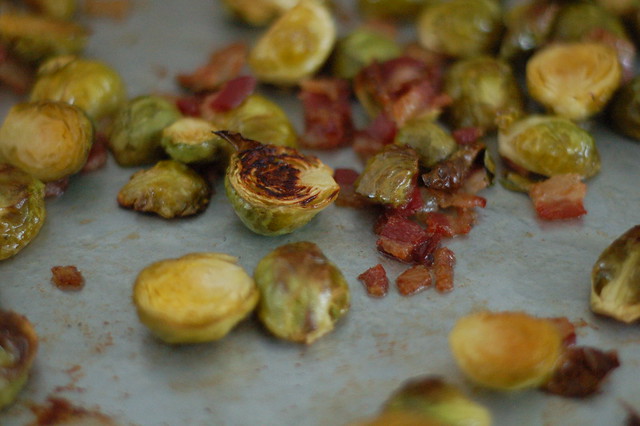
2. In a bowl, toss the Brussels sprouts with olive oil, maple syrup, bacon, salt, and pepper. Spread the mixture in a single layer on the baking sheet.
3. Roast for 25 to 30 minutes, turning several times, or until the Brussels sprouts are tender and caramelized and the bacon is crisp and golden.
Serves 6-8 as a side dish
Ingredients
* 2 pounds Brussels sprouts, ends trimmed, outer leaves removed (if they look like they need it) and halved
* 2 Tbsps olive oil
* 2 Tbsps pure maple syrup
* 3 slices of bacon, cut into 1/2-inch pieces
* Sea salt and freshly ground black pepper, to taste
Directions
1. Preheat oven to 400 degrees. Have on hand a large rimmed baking sheet.
2. In a bowl, toss the Brussels sprouts with olive oil, maple syrup, bacon, salt, and pepper. Spread the mixture in a single layer on the baking sheet.
3. Roast for 25 to 30 minutes, turning several times, or until the Brussels sprouts are tender and caramelized and the bacon is crisp and golden.
You might also like:
- Roasted Brussels Sprouts With Garlic Parmesan Buttered Breadcrumb Topping
- Shoestring-style Brussels Sprouts With Mustard, Garlic & White Wine
- Maple Roasted Yams With Bacon & Beer


