Last Wednesday was bittersweet. Not only was it our final CSA pick-up of the year, it was also the last Woodstock Farm Festival of the season. The weather was fittingly depressing - cold and gray with strong gusts of wind and needle-like rain. The tents at the farmer's market threatened to blow away a number of times.
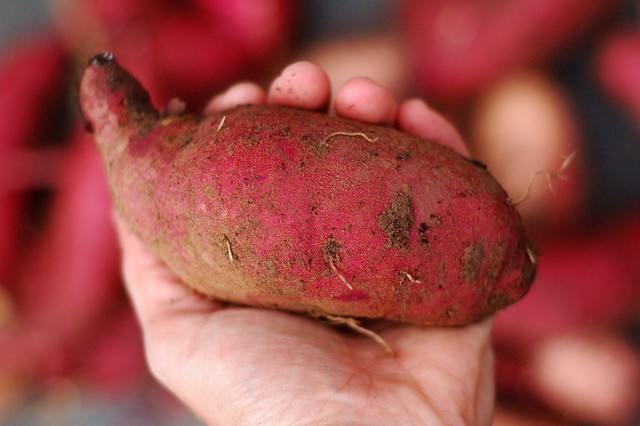
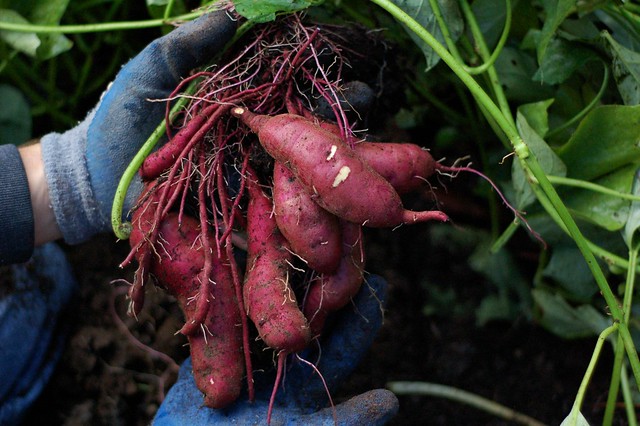
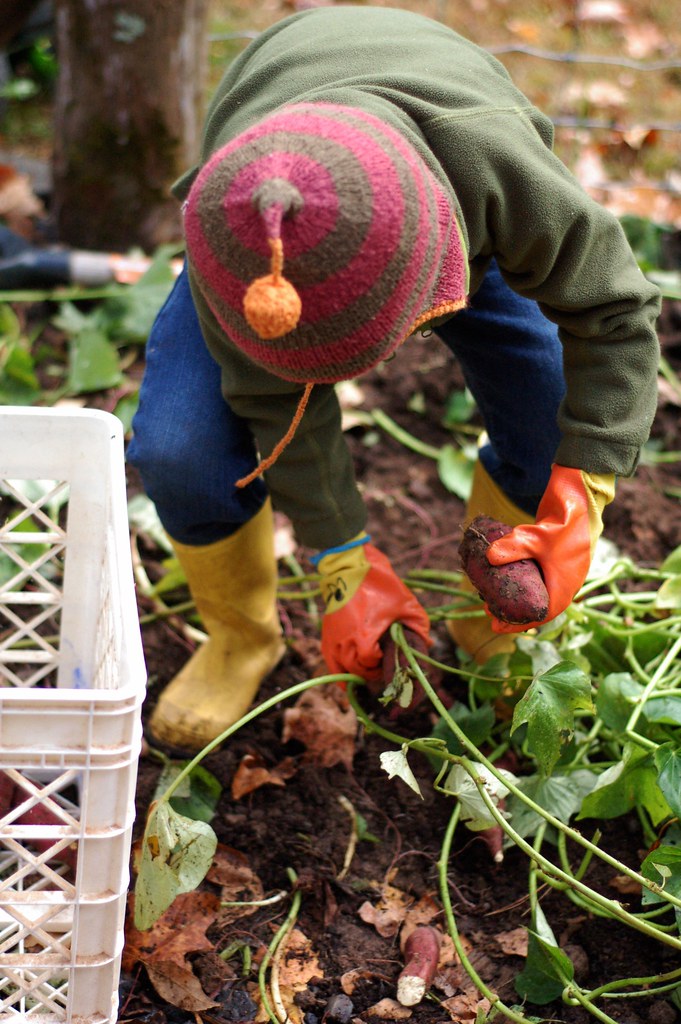
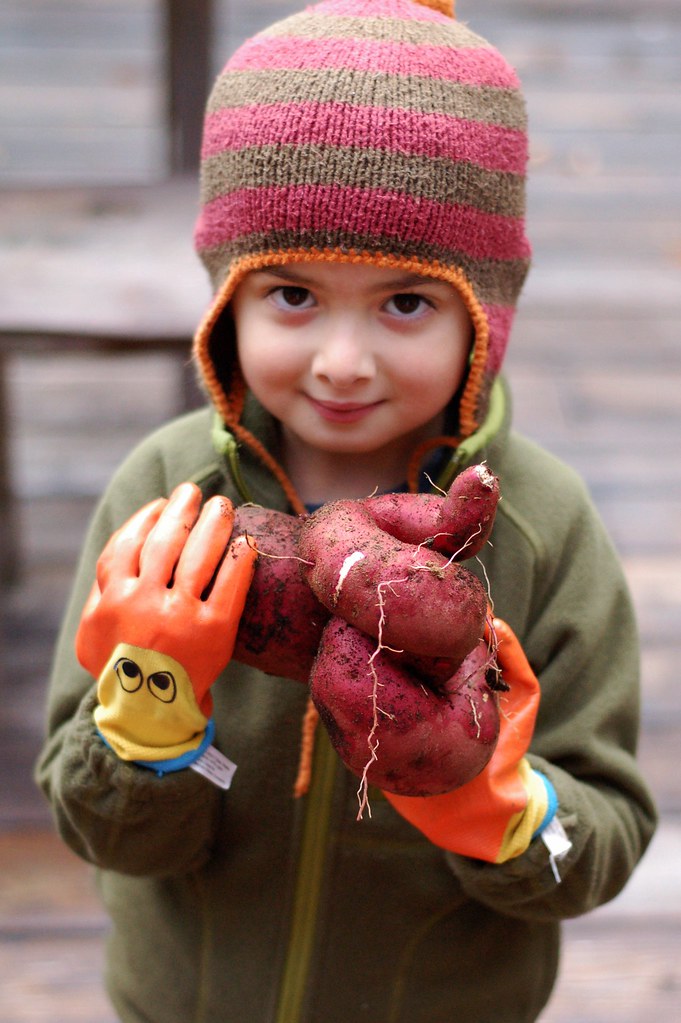
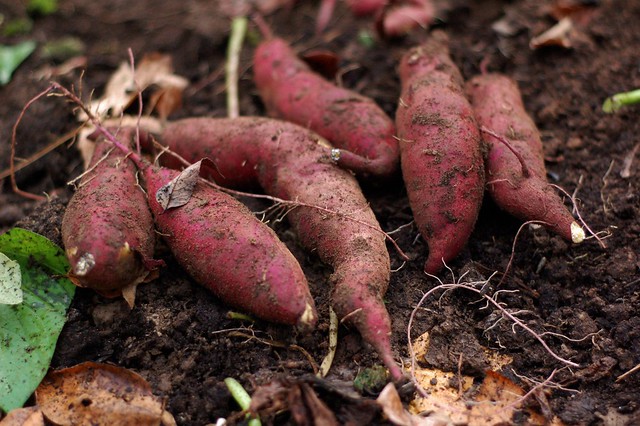
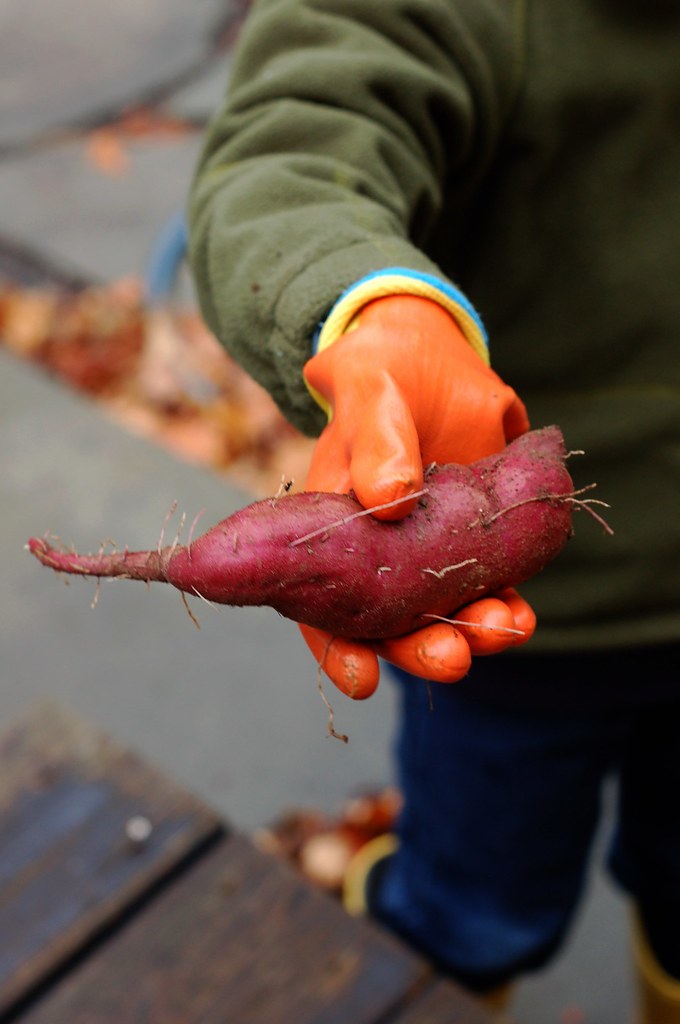
At the market, I stocked up on essentials - carrots, onions and apples. Also, Twisted Jeanne's delicious pretzel croissants and the world's best apple cider doughnuts from Wrights Farm... The haul from our CSA included a dozen pasture-raised eggs, a bag of potatoes, a bag of sweet potatoes (though we're pretty well set in that area), two heads of beautiful broccoli, some lovely leeks, green lettuce, garlic and two butternut squash. I could barely see the kitchen countertops after unpacking it all...
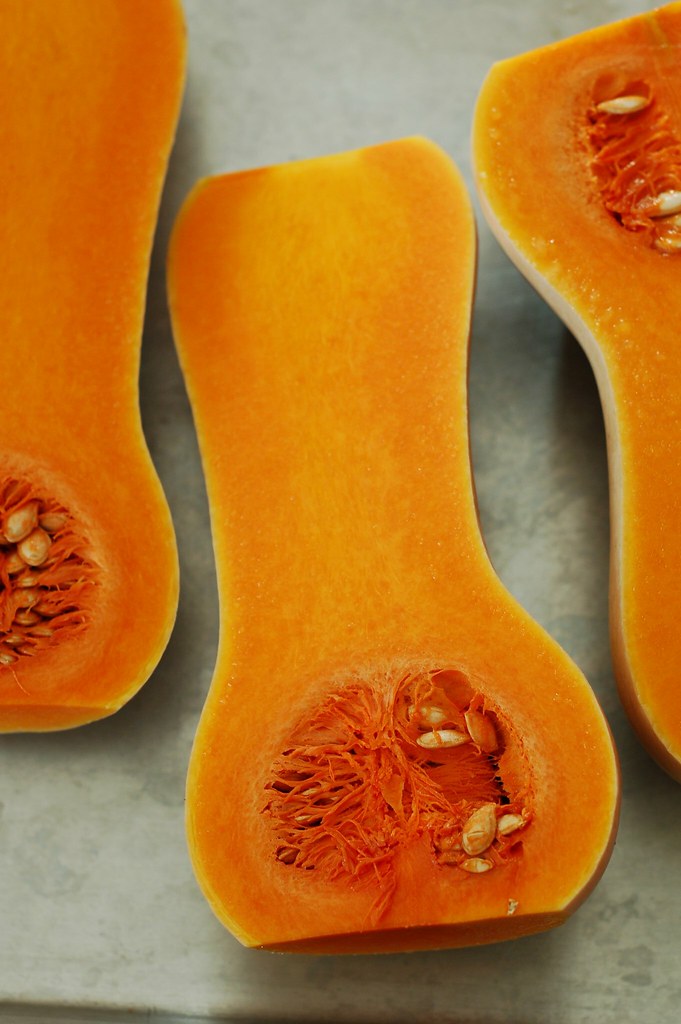
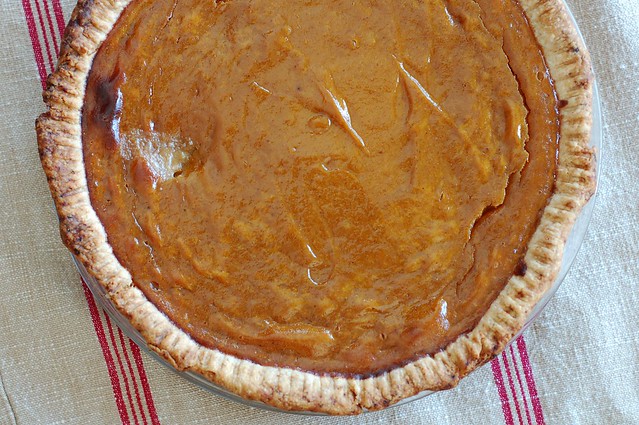
Given my gray mood and the chilly weather, I decided to roast the butternut squash and turn them into a sweet, hearty pie. Why should pumpkins get all the glory, after all?
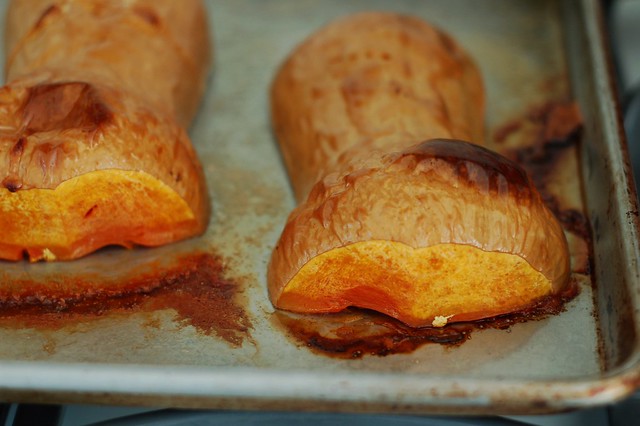
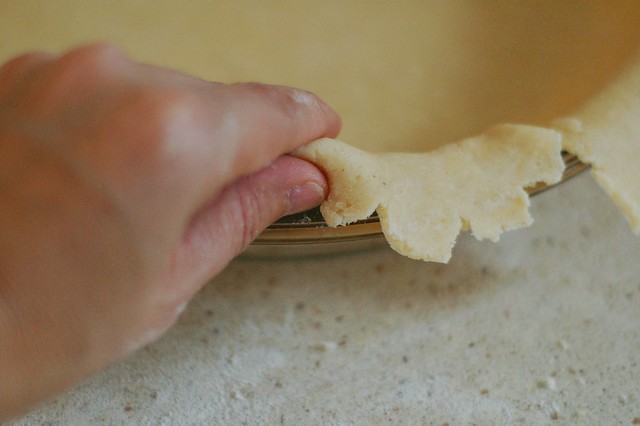
I could have steamed the squash but I love the way roasting deepens its flavor and enhances its natural sweetness. While they were roasting, I turned my attention to making the dough for the pie crust. Through some miracle, all you need is flour, fat (butter, in my case) and water. You can use a pastry cutter or a food processor to combine it but, either way, try to touch it as little as possible as you're getting it to clump together and then again when you're rolling it out in order to prevent it from getting tough. I wrapped my dough (hurray for an extra one in the freezer!) in waxed paper and let it rest for half an hour in the fridge before rolling it out and laying it in the pie plate.
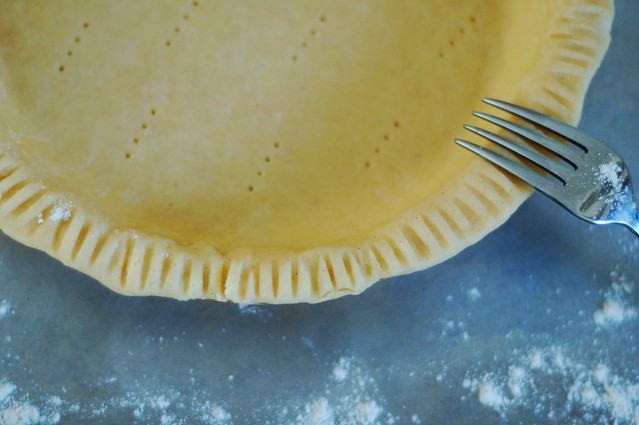
Then I tucked the edges under and crimped them with the tines of a fork. I also poked the bottom of the crust with the fork to keep it from ballooning up when I blind baked it. If you're not familiar with the term, blind baking means baking the crust for a time before you add the pie filling and can be helpful when you're using a more liquid filling.
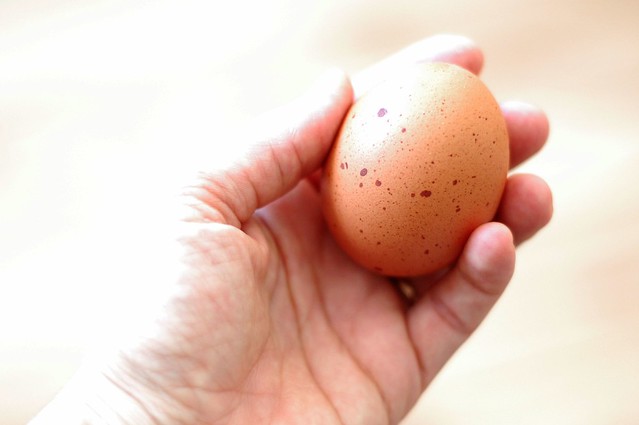
While the crust was blind-baking, I prepared the pie filling by blending two cups of the roasted squash flesh with pasture-raised eggs from our CSA (our last dozen until next spring, sniff), sugar, spices, vanilla extract and roughly half a can of organic coconut milk.
Puree it all then pour the mixture into the warm pie crust and into the waiting oven.
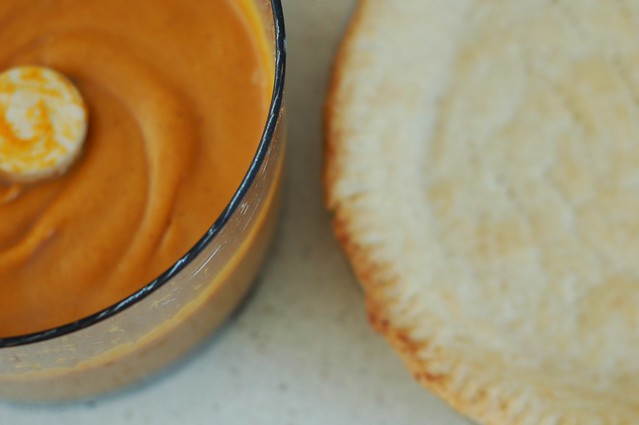
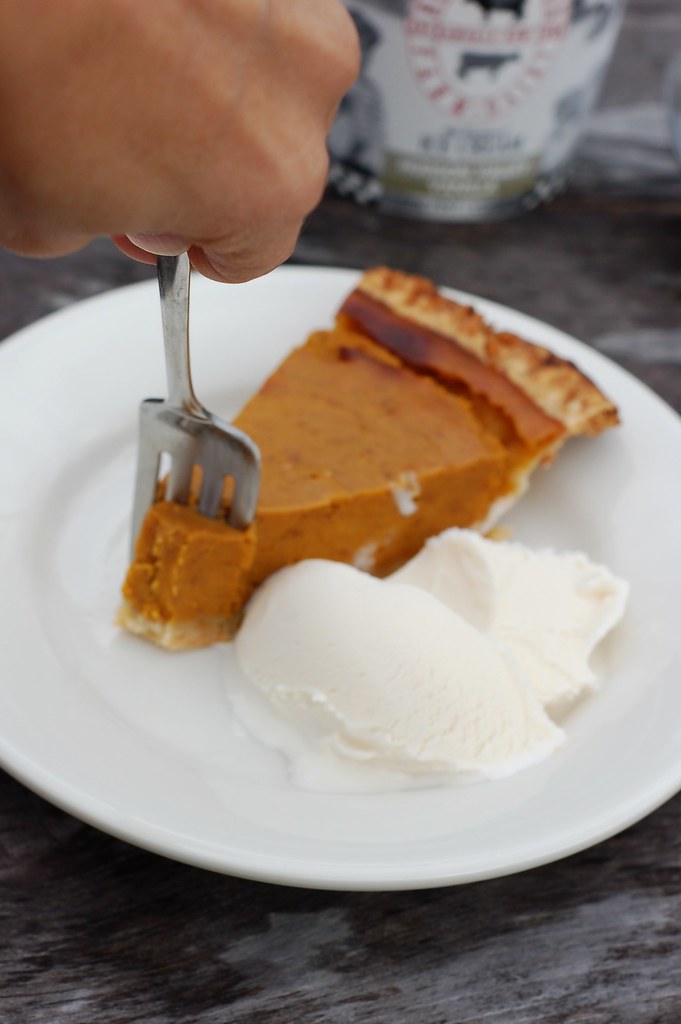
Bake until the filling is partly set but jiggles when you move it - basically the consistency of jello.
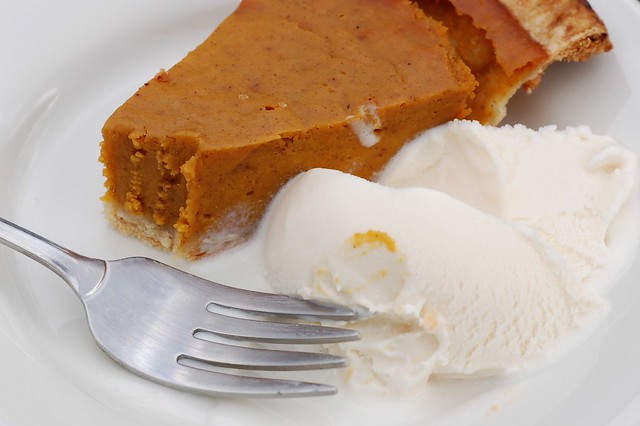
I recommend serving it warm with vanilla ice cream or whipped cream but it is also mighty tasty cold the next day for breakfast.
-- print recipe --Roasted Butternut Squash Pie
Adapted from Andrea Chesman's coconut-pumpkin pie in her excellent cookbook, Recipes from the Root Cellar
Makes one nine-inch pie
Ingredients
* 2 cups pureed butternut squash from 1 large or two small squash (you can use pumpkin, of course)
* 2 eggs (try to find pasture-raised eggs from a farmer near you)
* 1 pie crust (you can follow this recipe for pate brisee or use whatever crust recipe is your favorite)
* 1 cup coconut milk
* 3/4 cup packed brown sugar
* 1 tsp vanilla extract
* 1/2 tsp sea salt
* 1 tsp ground cinnamon
* 1/4 tsp ground cloves
* 1/8 tsp ground nutmeg
* 1/4 tsp ground allspice
Directions
1. Preheat the oven to 400 degrees. Roll out the pie dough and lay it over the pie pan. Fold the edges under themselves and then either crimp the edges with a fork or flute them with our fingers. Using a fork, punch holes evenly across the bottom of the crust and put it in the oven to pre-bake for 15 minutes, checking once or twice to see if it is ballooning up (if it is, poke another tiny hole with your fork to let the hot air escape and gently push the dough back down with your fork) then remove it and set it aside.
2. Prepare the filling: place the squash, eggs, coconut milk, sugar, salt and spices in the bowl of a food processor or blender and process until smooth.
3. Pour the filling into the blind-baked pie crust and bake at 400 degrees for 15 minutes then lower the heat to 350 and cook for 45-50 minutes longer. The crust should be nicely browned (should it start to get too brown, you can remove it for a moment and cover it with a pie crust shield or some narrow strips of aluminum foil - just be careful not to burn your fingers in the process) and the filling should be partially set - it should jiggle a little when you shake the pie pan - similar to the consistency of Jello.
4. Remove from the oven and allow to cool before serving with your choice of vanilla ice cream, whipped cream or another creamy-non-dairy alternative.
Adapted from Andrea Chesman's coconut-pumpkin pie in her excellent cookbook, Recipes from the Root Cellar
Makes one nine-inch pie
Ingredients
* 2 cups pureed butternut squash from 1 large or two small squash (you can use pumpkin, of course)
* 2 eggs (try to find pasture-raised eggs from a farmer near you)
* 1 pie crust (you can follow this recipe for pate brisee or use whatever crust recipe is your favorite)
* 1 cup coconut milk
* 3/4 cup packed brown sugar
* 1 tsp vanilla extract
* 1/2 tsp sea salt
* 1 tsp ground cinnamon
* 1/4 tsp ground cloves
* 1/8 tsp ground nutmeg
* 1/4 tsp ground allspice
Directions
1. Preheat the oven to 400 degrees. Roll out the pie dough and lay it over the pie pan. Fold the edges under themselves and then either crimp the edges with a fork or flute them with our fingers. Using a fork, punch holes evenly across the bottom of the crust and put it in the oven to pre-bake for 15 minutes, checking once or twice to see if it is ballooning up (if it is, poke another tiny hole with your fork to let the hot air escape and gently push the dough back down with your fork) then remove it and set it aside.
2. Prepare the filling: place the squash, eggs, coconut milk, sugar, salt and spices in the bowl of a food processor or blender and process until smooth.
3. Pour the filling into the blind-baked pie crust and bake at 400 degrees for 15 minutes then lower the heat to 350 and cook for 45-50 minutes longer. The crust should be nicely browned (should it start to get too brown, you can remove it for a moment and cover it with a pie crust shield
4. Remove from the oven and allow to cool before serving with your choice of vanilla ice cream, whipped cream or another creamy-non-dairy alternative.
You might also like:
For more delicious recipes, gardening ideas, foraging tips, and food-related inspiration "like" the Garden of Eating on Facebook, or follow me on Twitter and Pinterest.