Although I wage an ongoing battle against the lemon balm that was allowed to run riot in all the garden beds before we bought our house, I adore the stuff. It's got a lovely flavor and smell - grassy, citrusy and floral.
Lemon balm is also a bit of a renaissance herb - it's a mild sedative, analgesic (pain killer) and antiviral and can be used to calm stomach upset, aid digestion, speed sleep, soothe bug bites and treat cold sores. So as I yank it up by the roots, I save some of the fragrant leaves to use.
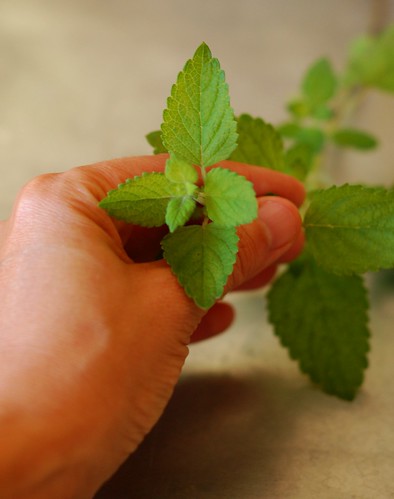
The thing I am loving right now is lemon balm simple syrup - packed with flavor and oozing sweetness, it's a great base for drinks. And it could not be simpler (no pun intended, for once!) to make. The ingredients are just water, sugar and lemon balm leaves - in equal proportions.
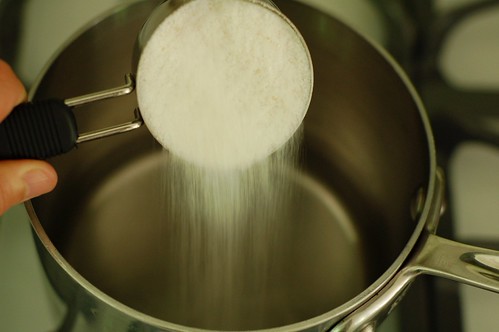
Combine them in a small saucepan, bring to a boil, simmer for a minute or two then remove from the heat and let it cool.
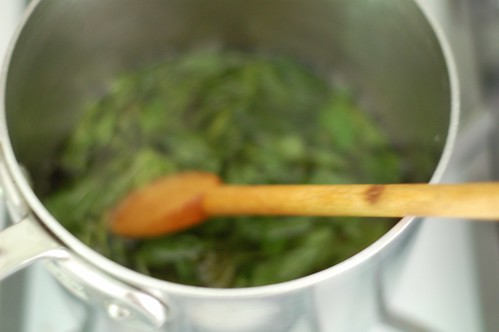
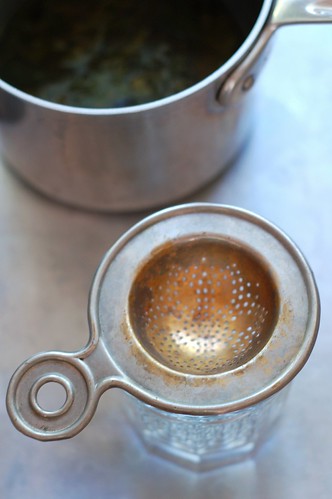
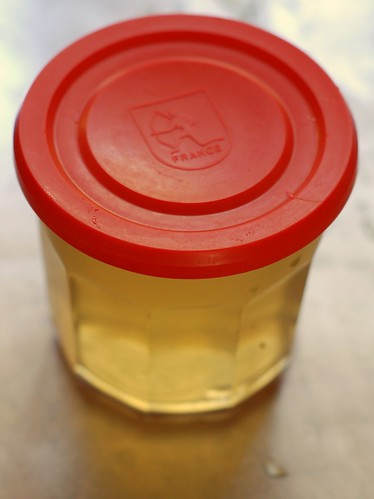
Once it's cooled, just strain out the leaves and store it in an airtight container in the fridge.
I usually store mine in one of my beloved Luminarc glass working jars with a plastic lid
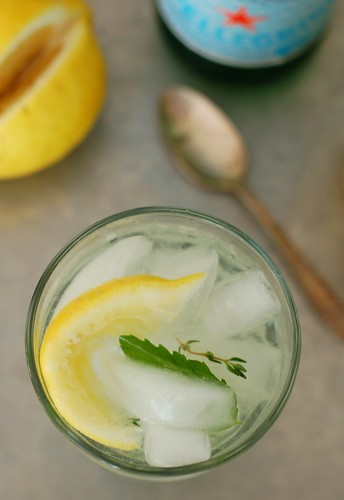
Then it's spritzer time! I like to mix a tablespoon of the simple syrup with a generous squeeze of lemon with seltzer and ice for a zesty and refreshing drink. Sometimes I will also add some fresh thyme, rosemary or basil to the pot with the lemon balm since they're great companion flavors. See the simple instructions below.
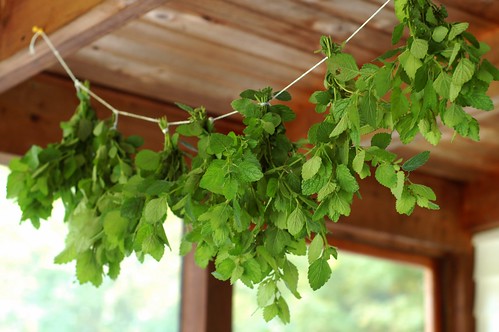
I also like to make a super easy tea with the leaves. Just toss them in boiling water and let them steep. You can drink it hot or let it chill for a super refreshing, flavorful cooler. Instructions here. Since lemon balm is a lot harder to come by in the winter months, I also dry some of the leaves and store them in an airtight container so that I can make it all year long. Luckily, our screened porch serves very well for drying though I can also toss the leaves into our awesome Excalibur food dehydrator
Lemon Balm Simple Syrup
Ingredients
* 1 cup loosely packed lemon balm leaves, rinsed (you can also add some fresh thyme, rosemary or basil if those flavors sound appealing to you)
* 1 cup organic cane sugar
* 1 cup water
Directions
Stir the three ingredients together in a medium saucepan over medium heat. Bring to a boil and then simmer for one minute, until the sugar has dissolved completely. Remove from the heat and let stand for 30 minutes. Strain out the leaves and toss them into the compost. Store in an airtight glass container in the fridge - it will keep for at least a month.
Try mixing 2 tablespoons (or more - you can decide how strong/sweet you like it) into a glass of iced seltzer with a generous squeeze of lemon for a wonderful spritzer.
You might also like:
For more delicious recipes, drool-worthy photos, giveaways, and food-related inspiration "Like" the Garden of Eating on Facebook, or follow me on Twitter or Pinterest.