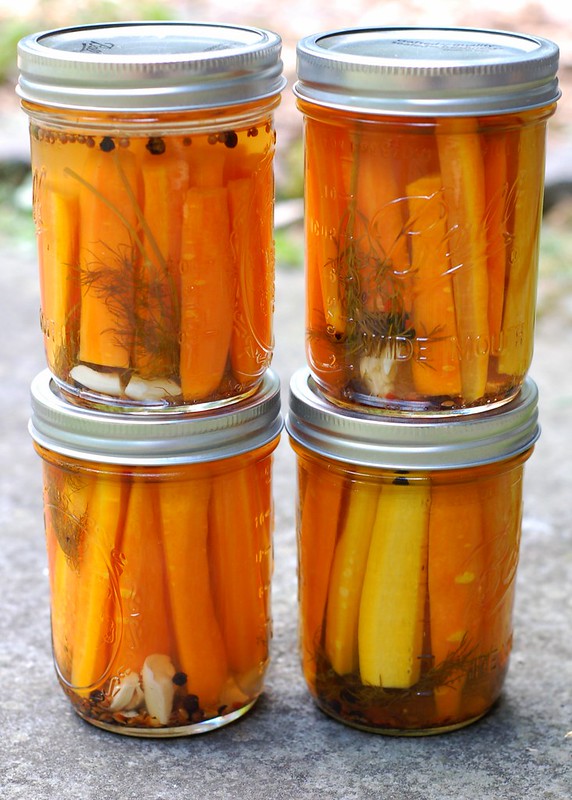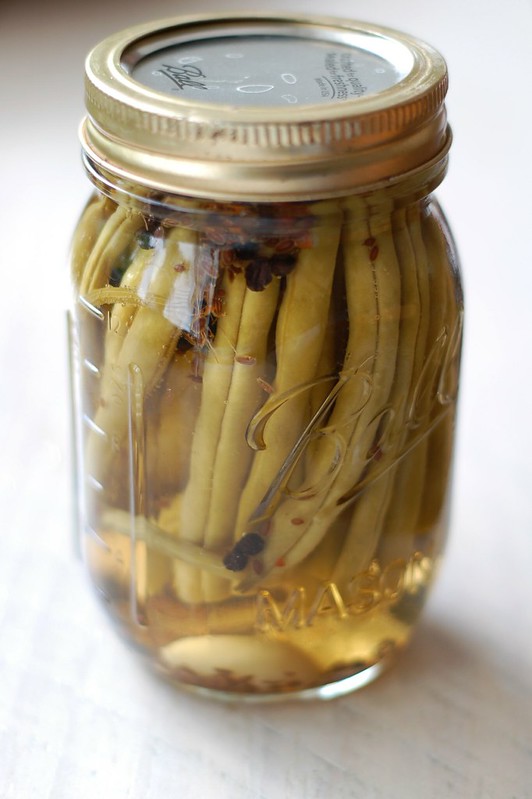
I didn't grow up with dilly beans so I never knew about them until our friend, Ben busted out a jar he'd made and I bit into my first crunchy, garlicky, dilly pickled green bean. I was immediately smitten.
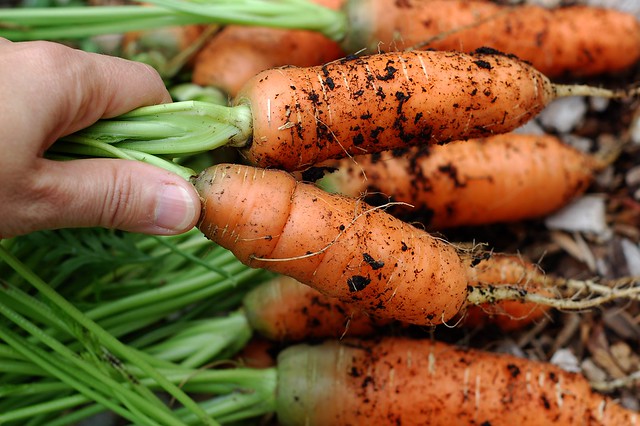
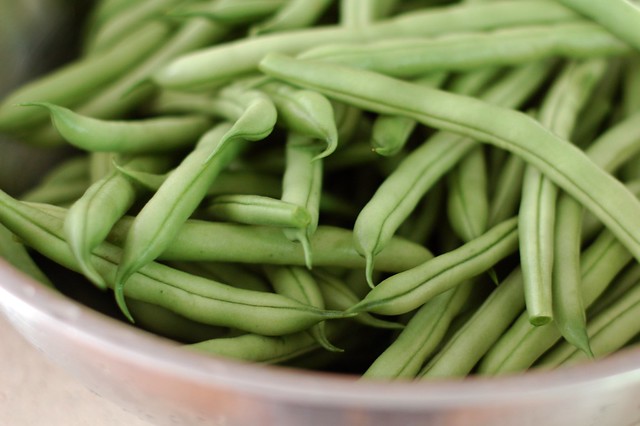
Fortunately, my mom-in-law planted way too many bush bean plants this spring and she's practically drowning in beautiful beans. When she brought a huge bag over the other day, I thought DILLY BEANS!!!
Since our three cucumber plants are determined to fill the world with bumpy, little, green penises, I also made dill pickles at the same time, using the same spices and brine. But that's a post for another day.
The recipe below is adapted from Marisa McLellan's excellent blog, Food In Jars. If you like canning, you owe it to yourself to get at least one of her wonderful books. I use my copy of her beautiful, little book, Food In Jars all the time - it's one of my go-to resources for canning and preserving.

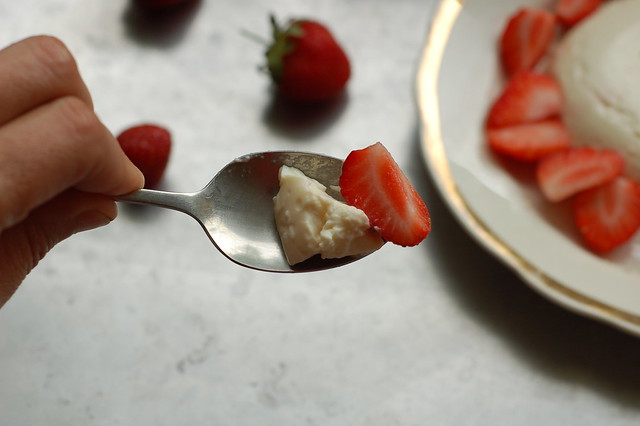
As with all preserves, use the freshest ingredients you can get. If you have a garden, pick your beans and your dill the same morning you plan to can. They are delicious eaten right out of the jar and make a wonderful substitute for a pickle with a sandwich or burger. They're also the toast of any cheese plate. (Yes, that was a pun.) Happy munching.

-- print recipe --
Dilly Beans
Makes 4 pints
Ingredients
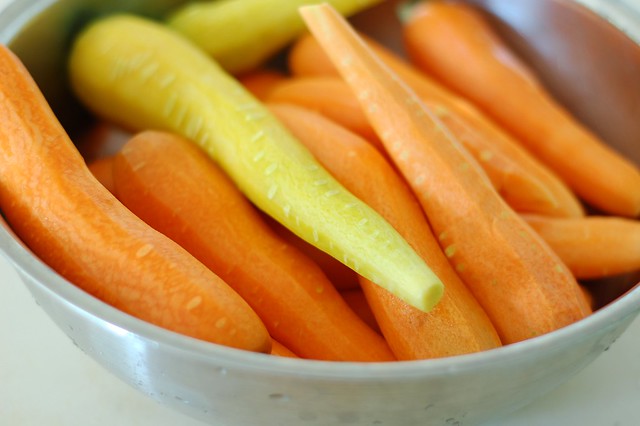
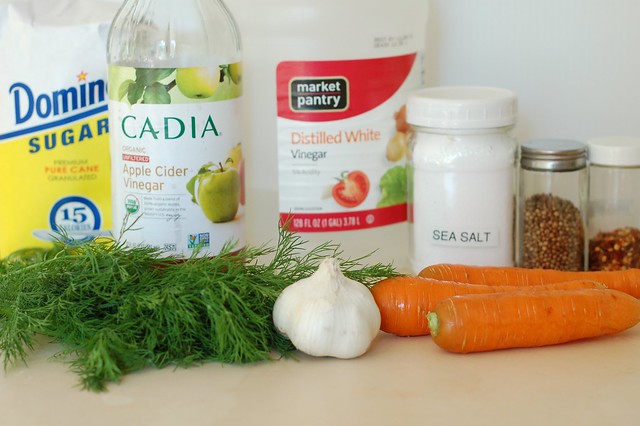
* 2 pounds fresh green beans, trimmed to fit your jars
* 2 1/2 cups apple cider vinegar (5% acidity)
* 2 1/2 cups water
* 2 Tbsps pickling or fine sea salt
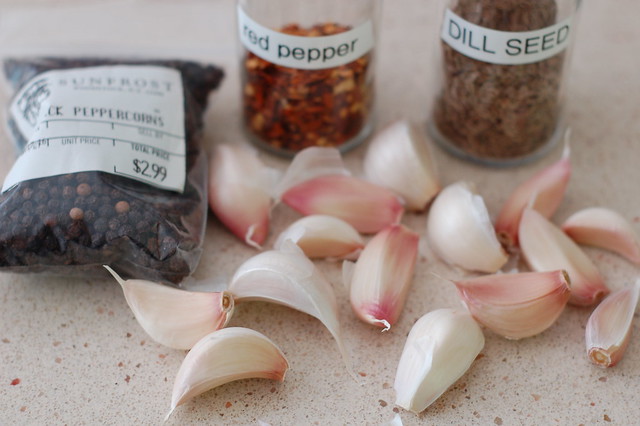
* 4 tsps dill seed (1 tsp per jar)
* 2 tsps black peppercorns (1/2 tsp per jar)
* 1 tsp red chili flakes (1/4 tsp per jar)
* 4 cloves garlic, peeled (1 clove per jar)
* 8 sprigs fresh dill rinsed (2 sprigs per jar)
Directions
1. Bring a canning pot of water to a boil and sterilize 4 pint jars. Place 4 lids in a small pot of water and bring to a bare simmer.
2. Wash and trim your beans so that they fit in your jar, leaving about an inch of headspace. If you have particularly long beans, cut them in half.
3. In a medium saucepan, combine the vinegar, water and salt and bring to a boil.
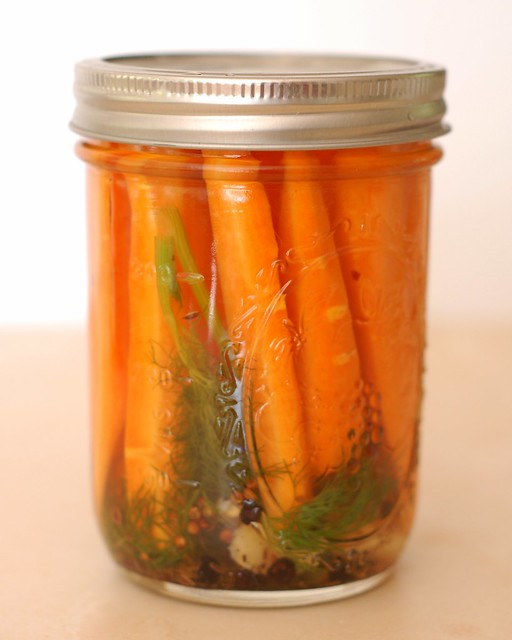
4. Divide the dill seed, peppercorns, red chili flake, and garlic cloves evenly between the four jars and pack the beans carefully into the jars over top of the spices.
5. Pour the boiling brine over the beans, leaving 1/2 inch headspace and gently tap the jars to loosen any trapped air bubbles. If you have any stubborn bubbles, use a clean chopstick, skewer or knife to wiggle them out.
6. Using a damp cloth or paper towel, wipe the jar rims, apply the lids and bands, tightening with your fingers only.
7. Process the jars in a boiling water bath for 10 minutes then use your jar lifter to remove them and place them in a draft-free location on a heavy kitchen towel to cool.
8. Once the jars are cool enough to handle, remove the bands and test the seals. Sealed jars can be stored in the pantry for up to a year. Any jars the seals failed on should be placed in the fridge and eaten within a couple of weeks. *Please note: wait at least two weeks before you eat any of the beans to give them time to develop their flavor.
Dilly Beans
Makes 4 pints
Ingredients
* 2 pounds fresh green beans, trimmed to fit your jars
* 2 1/2 cups apple cider vinegar (5% acidity)
* 2 1/2 cups water
* 2 Tbsps pickling or fine sea salt
* 4 tsps dill seed (1 tsp per jar)
* 2 tsps black peppercorns (1/2 tsp per jar)
* 1 tsp red chili flakes (1/4 tsp per jar)
* 4 cloves garlic, peeled (1 clove per jar)
* 8 sprigs fresh dill rinsed (2 sprigs per jar)
Directions
1. Bring a canning pot of water to a boil and sterilize 4 pint jars. Place 4 lids in a small pot of water and bring to a bare simmer.
2. Wash and trim your beans so that they fit in your jar, leaving about an inch of headspace. If you have particularly long beans, cut them in half.
3. In a medium saucepan, combine the vinegar, water and salt and bring to a boil.
4. Divide the dill seed, peppercorns, red chili flake, and garlic cloves evenly between the four jars and pack the beans carefully into the jars over top of the spices.
5. Pour the boiling brine over the beans, leaving 1/2 inch headspace and gently tap the jars to loosen any trapped air bubbles. If you have any stubborn bubbles, use a clean chopstick, skewer or knife to wiggle them out.
6. Using a damp cloth or paper towel, wipe the jar rims, apply the lids and bands, tightening with your fingers only.
7. Process the jars in a boiling water bath for 10 minutes then use your jar lifter to remove them and place them in a draft-free location on a heavy kitchen towel to cool.
8. Once the jars are cool enough to handle, remove the bands and test the seals. Sealed jars can be stored in the pantry for up to a year. Any jars the seals failed on should be placed in the fridge and eaten within a couple of weeks. *Please note: wait at least two weeks before you eat any of the beans to give them time to develop their flavor.
You might also like: