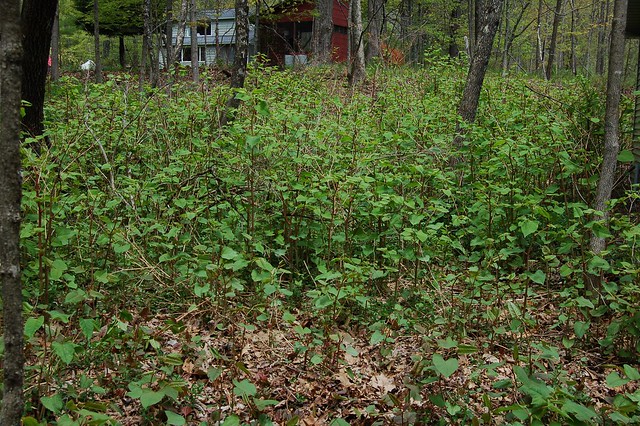
I've got another invasive weed that's bad for native plants but good for you. Meet garlic mustard greens (Alliaria petiolata), one of the most common invasive weeds out there. Imported to the U.S. by European settlers in the 1860'a as a culinary and medicinal plant as well as to help prevent erosion, it quickly got out of the garden and went rogue, putting down roots as far north as Canada, as far south as Virginia and as far west as Kansas and Nebraska.

Although rather pretty, it's bad news for local ecosystems since it spreads like wildfire, is not appealing to deer (they don't like anything that tastes or smells of onions or garlic or has thorns, sadly), and produces chemicals that suppress the mycorrhizal fungi most native trees and plants require to thrive. Clever, eh? Even while I am yanking it up by the roots, I have to admire this plant's ability to survive and thrive.
Garlic mustard is a member of the mustard family (duh) and has a pronounced garlicky smell and flavor (duh again) in addition to the characteristic bite of mustard greens. All parts of the plant are edible at various points in the plant's two year life cycle although I have only ever tried the leaves which are best before the weather gets hot and they become more bitter.
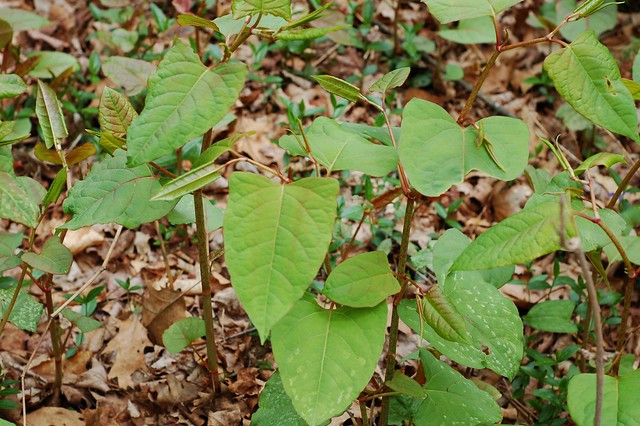
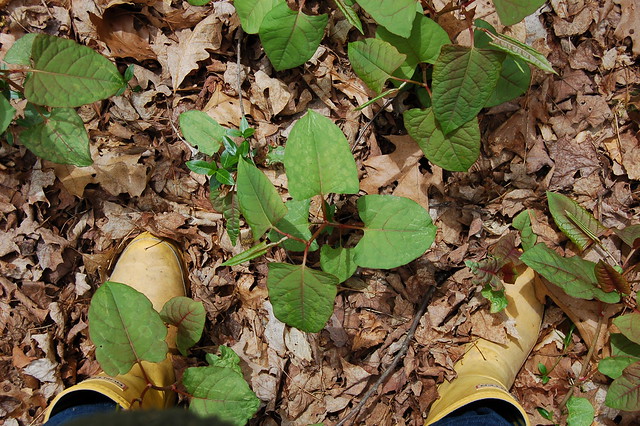
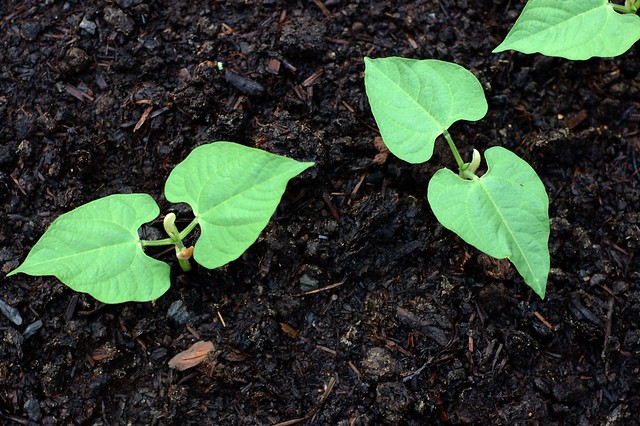
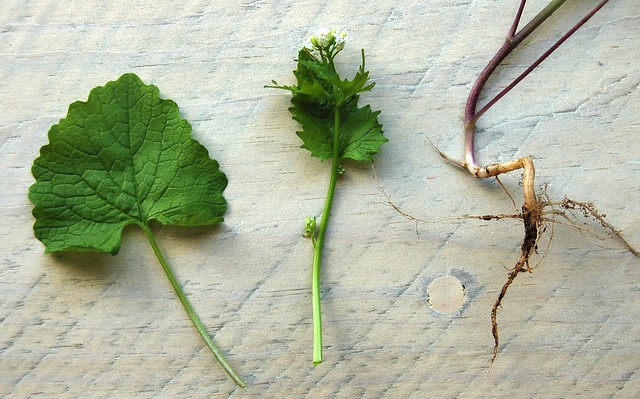
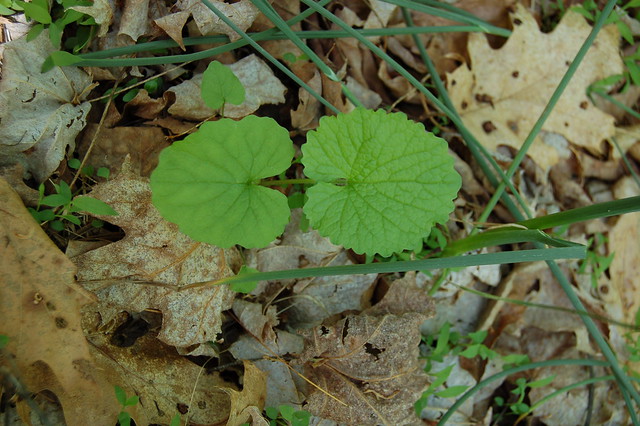
Garlic mustard has a two-year life cycle. It begins life as a rosette of green leaves that stick close to the ground.
The plant overwinters under the snow (tough, as well as clever) and then shoots up during the spring of its second year before putting out white flowers in late spring and producing long seed pods during the summer that end up scattering everywhere once the plant dies and dries out.
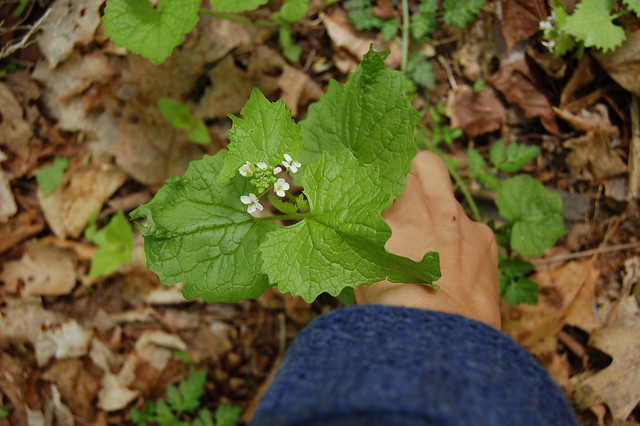
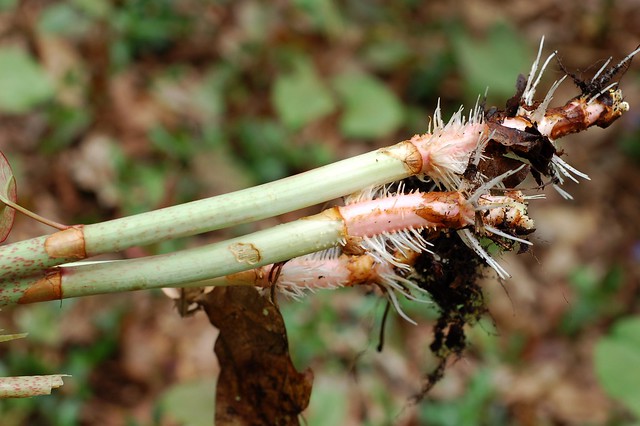
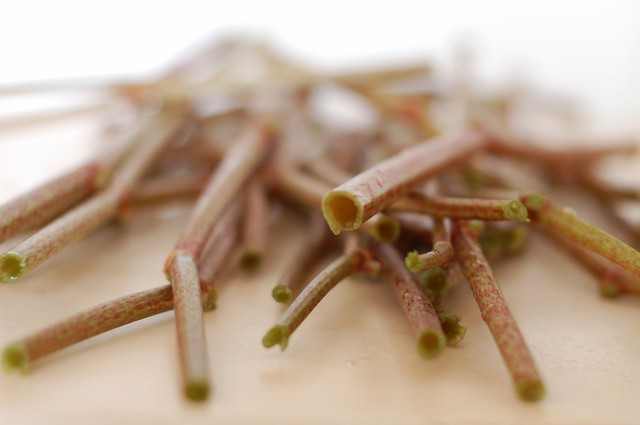
Yank it up by the roots whenever you see it, especially before it has a chance to form those seed pods. If you're not sure what you're picking is actually garlic mustard, break a leaf and sniff - it should smell strongly of garlic. If not, leave it be as there are several native plants -- toothwort, sweet cicely and early saxifrage -- that produce white flowers and look similar enough to be confused for it.
But save some of what you pull up as it has an interesting flavor that is quite good in certain applications and it is also high in vitamins A, C, carotenoids, several minerals and fiber.
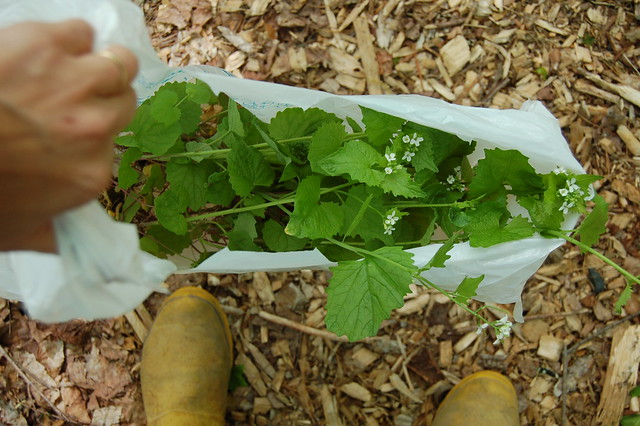
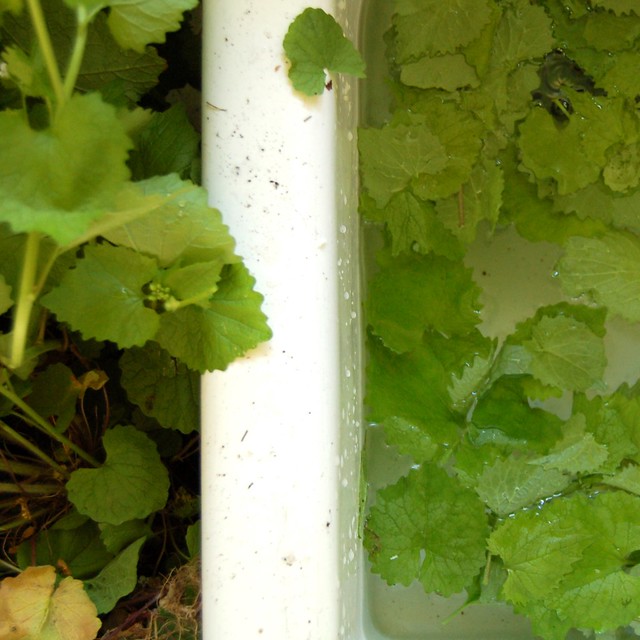
When you get your haul home, you'll need to wash it as there will undoubtedly be both dirt and insects clinging to its roots and leaves. I removed the leaves and washed them in several changes of water before drying them in the salad spinner. Since there is no shortage of this stuff out there, I used only the newer, tender leaves as they are not as bitter as the older, rounder leaves.
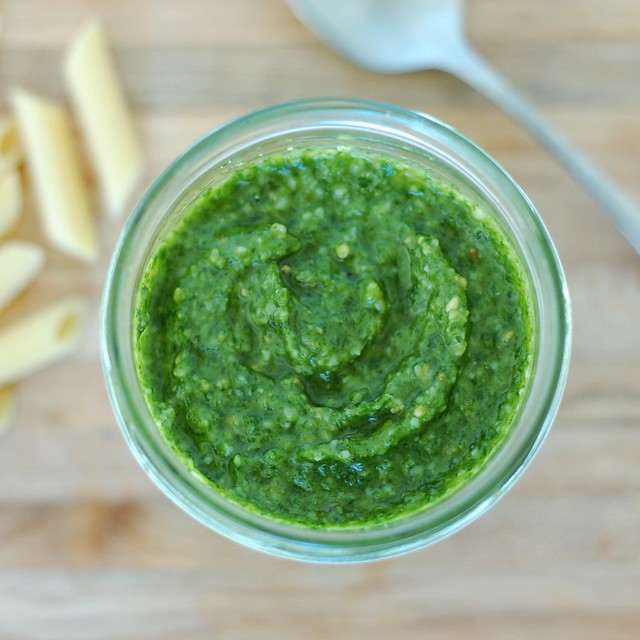
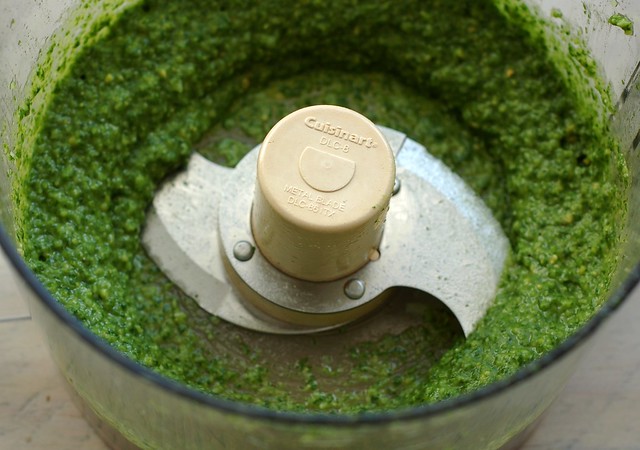
Then I got out the ingredients for pesto - Parmesan cheese, olive oil, salt, pepper and nuts. I used both pine nuts and also some toasted almonds. Had I had any basil on hand, I would have added that, too. I did not add garlic since the greens have their own allium appeal but if you do want to, I would consider sautéeing it first to cut down on its bite and enhance its natural sweetness.

I dumped it all into the Cuisinart and in less than a minute, I had a beautiful, bright green pesto with a mildly garlicky flavor and a definite bite. I would not use it exactly as I would use a traditional basil pesto because it lacks basil's sweetness. It needs to be paired with something more substantial than plain pasta but I used a generous amount of it to dress up some cheese tortellini and added some of my oven-roasted cherry tomatoes from the fall and it was delicious.
In general, I would consider adding some sort of roasted vegetable to the pasta when you use it - roasted butternut or delicata squash would be good as would broccoli, cauliflower, eggplant or tomatoes - anything that caramelizes nicely when roasted or has a good nutty flavor to it. And this pesto would make an excellent addition to a charcuterie plate, too.
Other ways to enjoy garlic mustard greens include:
- Add the leaves to salads (again, now is a good time to do this unless you're into bitter greens);
- Add the leaves to soups or stews - substitute them for the mustard greens in this recipe for curried chicken with kabocha squash and mustard greens;
- Toss some of the chopped leaves into mashed potatoes;
- Saute some garlic in olive oil and give the leaves a quick saute until wilted then add a splash of good balsamic vinegar, a pinch of sea salt and a few grinds of black pepper and consider adding a handful of currants and toasted pine nuts or almonds - substitute garlic mustard leaves for the spinach in this simple preparation if you want to follow a recipe;
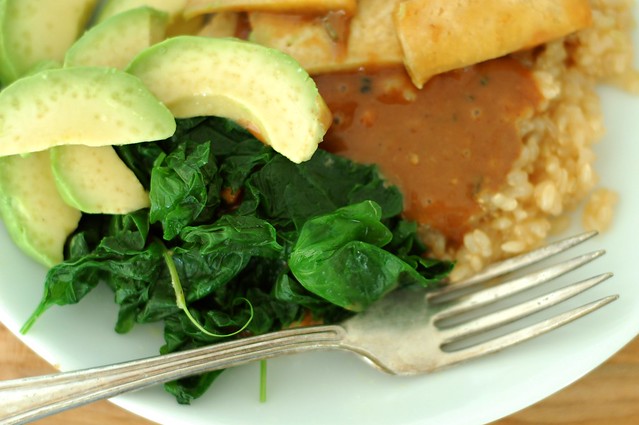
- Blanch the greens and use them as you would collards, kale, chard or mustard greens. I had some with brown rice, tofu and peanut sauce recently.
You might also like:
 |
 |
 |