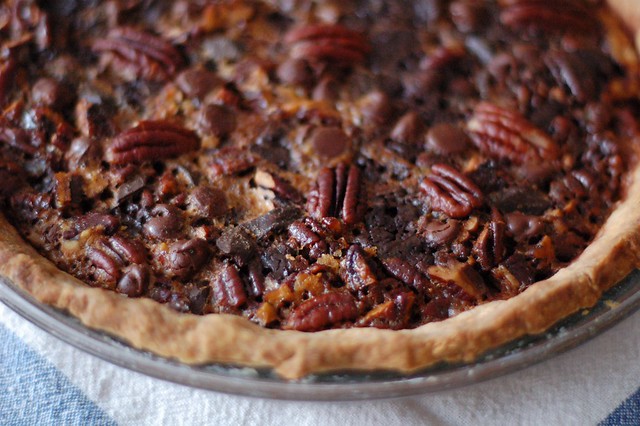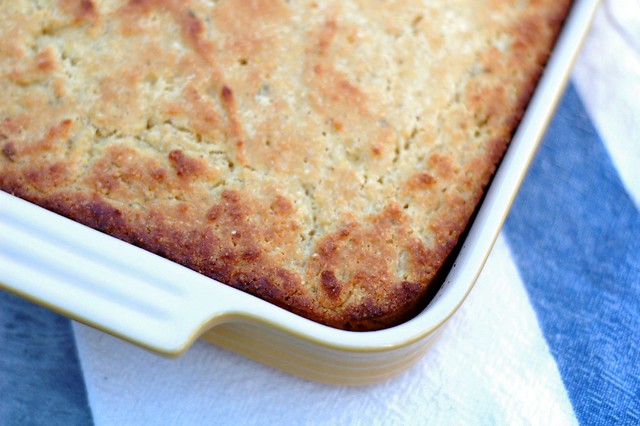
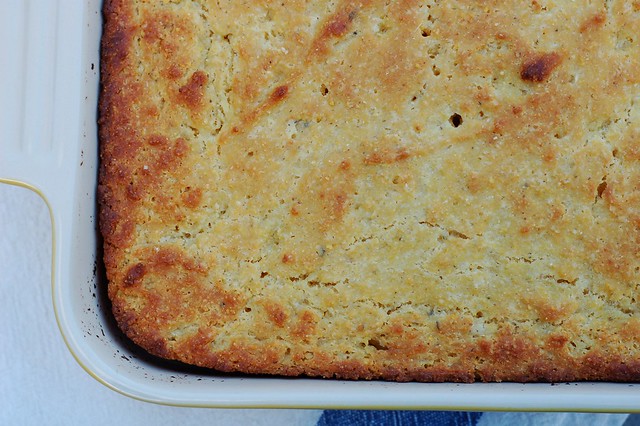
Considering how simple cornbread is, it's funny that my cornbread track record is spotted with failures. Sometimes the bread comes out of the oven perfectly browned with a nice, moist crumb and just the right amount of sweetness and sometimes it's dense and grainy and bland and a good deal of it ends up in the compost heap. But this is the perfect cornbread - moist with a fine, consistent crumb, crispy edges, just the right amount of smoky sweetness and a hint of sage.
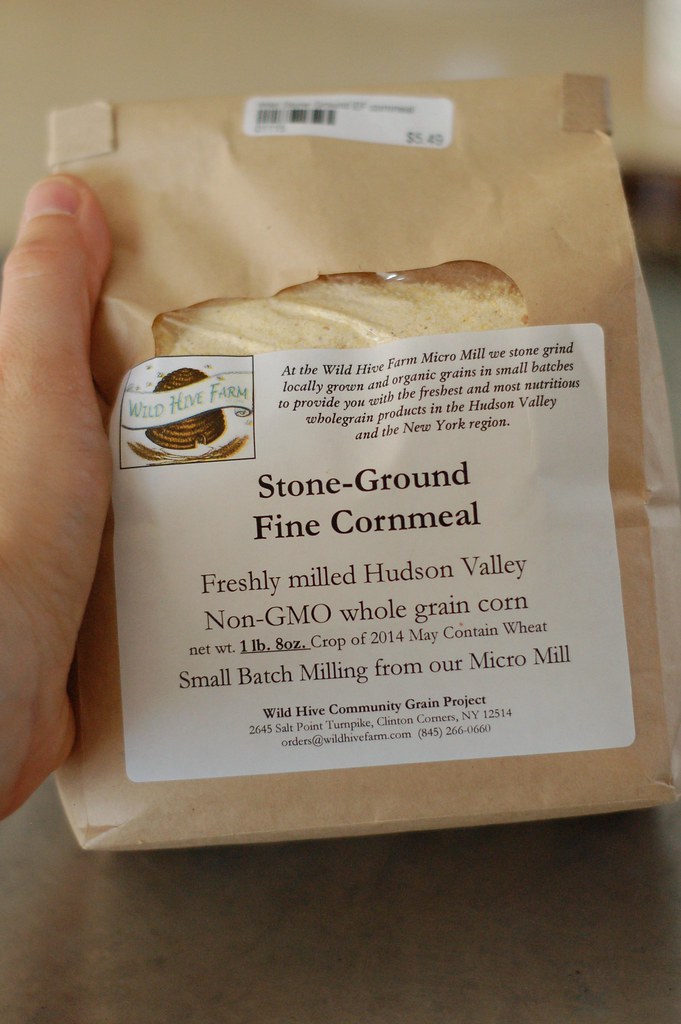
In an effort to ensure success, I bought a bag of locally grown and locally milled corn from Wild Hive Farm, one of the only working mills left here in the Hudson Valley. Their grains are all top-notch and I love knowing that the corn grew to ripeness in a field and was ground into meal near me rather than somewhere in the midwest.
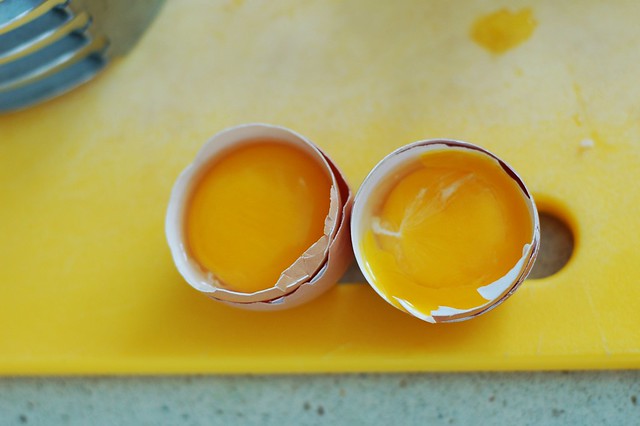
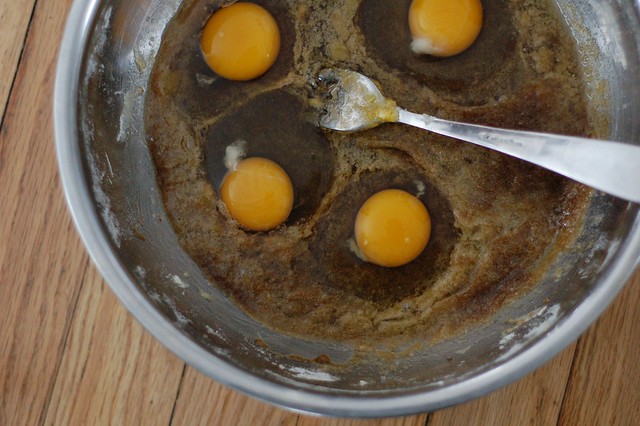
I bought a grassfed buttermilk and used organic flour, butter and locally-raised eggs. If you don't have buttermilk on hand, there's an easy workaround you can do -- just put a tablespoon of either lemon juice or plain old white vinegar in a cup or bowl and add one cup of milk (you can make more, of course, just use that basic ratio), and let it sit for 5 minutes. That's it!
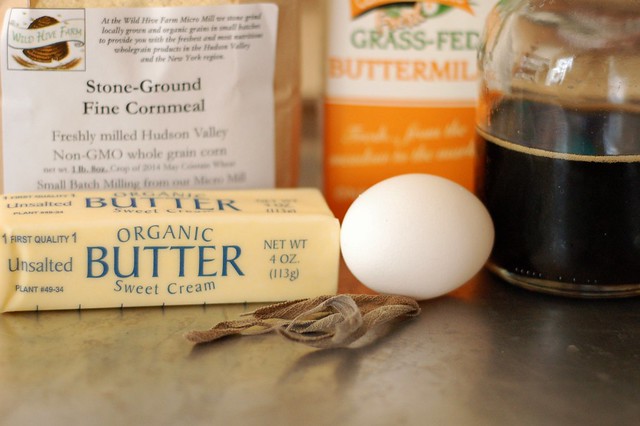
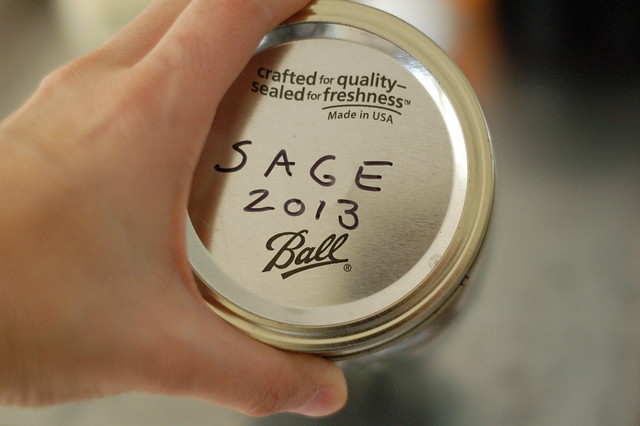
I had perused quite a lot of cornbread recipes and liked the idea of using sage to add a little extra flavor so I crumbled up some of our dried sage leaves in the dry ingredients. If I'd had some corn kernels left in the freezer, I'd have tossed those in, as well.
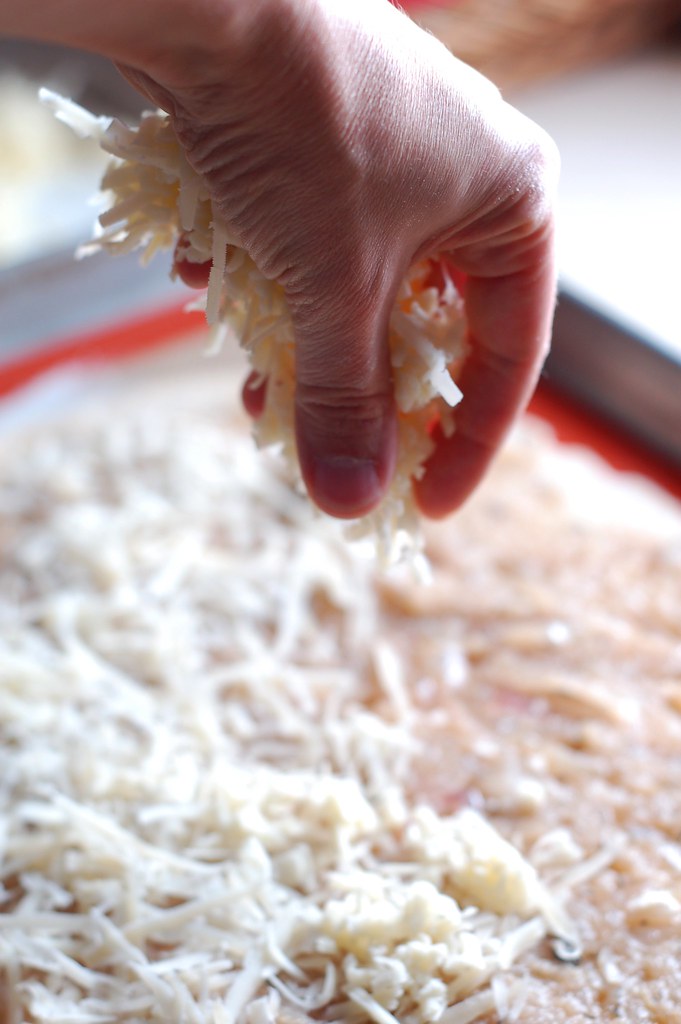
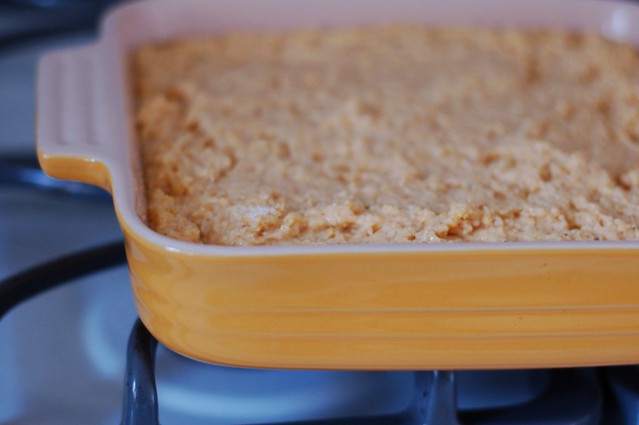
The recipe is simple, you just mix the dry ingredients and mix the wet ingredients and then mix together until just combined before turning out into a greased baking dish. I like to use bacon fat and put the dish in the oven while it's preheating to melt the fat easily.
The basic recipe below was inspired by a similar one by Alana Chernila whose wonderful book, The Homemade Pantry
-- print recipe --
Maple Sage Buttermilk Cornbread
Makes one 8-inch pan
Ingredients
* 1 cup organic, all-purpose flour
* 1 cup fine ground yellow cornmeal
* 1 Tbsp baking powder
* 1 tsp sea salt
* 2 eggs (try to find pasture-raised eggs from a farmer near you)
* 1 cup buttermilk (try to find organic or pasture-raised)
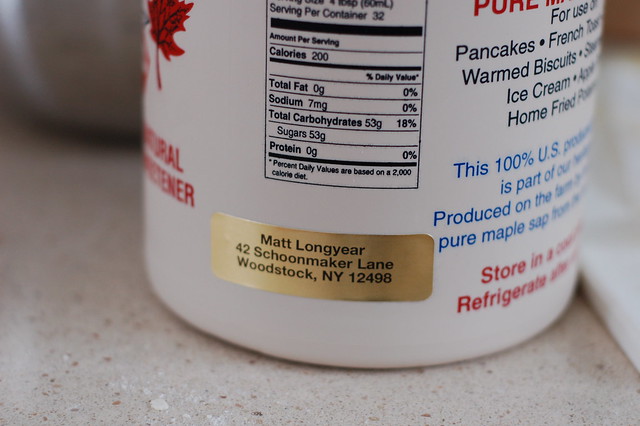
* 1/4 cup pure maple syrup
* 4 Tbsps (1/2 stick) unsalted organic butter, melted, plus another generous smear to grease the pan though I usually use bacon fat for that purpose
* 2-3 Tbsps crushed, dried sage, stems removed
Directions
1. Preheat the oven to 425°F. Throw a generous pat of butter or a spoonful of rendered bacon fat into an 8-inch square or 9-inch round baking dish or similar-sized cast-iron skillet.
2. In a large bowl, whisk together the flour, cornmeal, baking powder, salt and crushed sage until thoroughly combined.
3. Put the pan into the oven to melt the fat. Crack the eggs into a medium bowl and beat them until uniform in color then add the buttermilk, maple syrup and melted butter and stir or whisk the mixture until it's well-combined. Add the wet ingredients to the dry ingredients and gently stir just until combined.
4. Remove the pan from the oven using pot holders and turn it to coat the bottom and sides evenly with the melted butter or bacon fat. Pour the batter out into the greased pan and bake for 20-25 minutes until the edges are lightly browned and crispy and are pulling away from the sides of the pan and a toothpick or knife inserted in the center comes out clean. Serve warm with lots of butter and a sprinkling of sea salt.
Maple Sage Buttermilk Cornbread
Makes one 8-inch pan
Ingredients
* 1 cup organic, all-purpose flour
* 1 cup fine ground yellow cornmeal
* 1 Tbsp baking powder
* 1 tsp sea salt
* 2 eggs (try to find pasture-raised eggs from a farmer near you)
* 1 cup buttermilk (try to find organic or pasture-raised)
* 1/4 cup pure maple syrup
* 4 Tbsps (1/2 stick) unsalted organic butter, melted, plus another generous smear to grease the pan though I usually use bacon fat for that purpose
* 2-3 Tbsps crushed, dried sage, stems removed
Directions
1. Preheat the oven to 425°F. Throw a generous pat of butter or a spoonful of rendered bacon fat into an 8-inch square or 9-inch round baking dish or similar-sized cast-iron skillet.
2. In a large bowl, whisk together the flour, cornmeal, baking powder, salt and crushed sage until thoroughly combined.
3. Put the pan into the oven to melt the fat. Crack the eggs into a medium bowl and beat them until uniform in color then add the buttermilk, maple syrup and melted butter and stir or whisk the mixture until it's well-combined. Add the wet ingredients to the dry ingredients and gently stir just until combined.
4. Remove the pan from the oven using pot holders and turn it to coat the bottom and sides evenly with the melted butter or bacon fat. Pour the batter out into the greased pan and bake for 20-25 minutes until the edges are lightly browned and crispy and are pulling away from the sides of the pan and a toothpick or knife inserted in the center comes out clean. Serve warm with lots of butter and a sprinkling of sea salt.
You might also like:
For more delicious recipes, gardening ideas, foraging tips, and food-related inspiration "like" the Garden of Eating on Facebook, or follow me on Twitter and Pinterest.