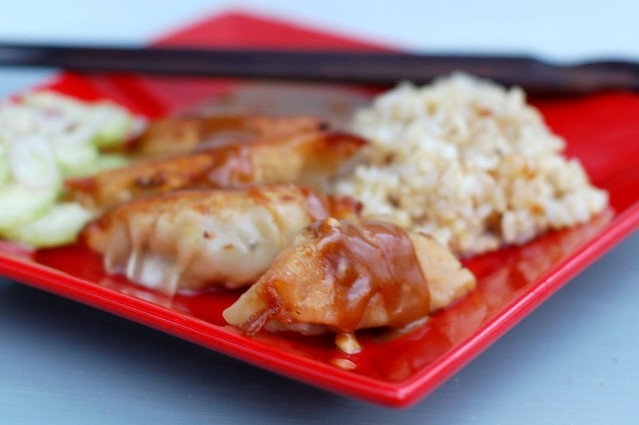
With the obvious exception of people who are deathly allergic to peanuts, I think pretty much everyone loves peanut sauce. I'm always happy when I've made a big batch of it because there are so many ways to use it throughout the week - with tofu, with spring rolls, with broccoli, with rice, with chicken, with shrimp, as the basis for a salad dressing, etc., etc.
Although I switch it up sometimes (in fact, I am planning to do a little round up of the many peanut sauces I like to make soon), the recipe below is my default option because I love the combination of spicy, salty and sweet. And it's pretty quick, which is very important to me.
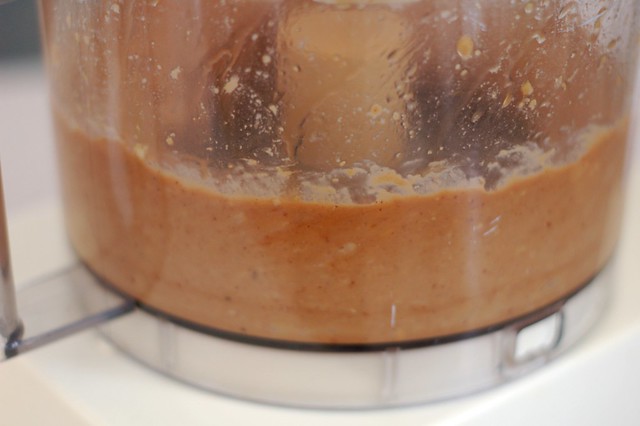
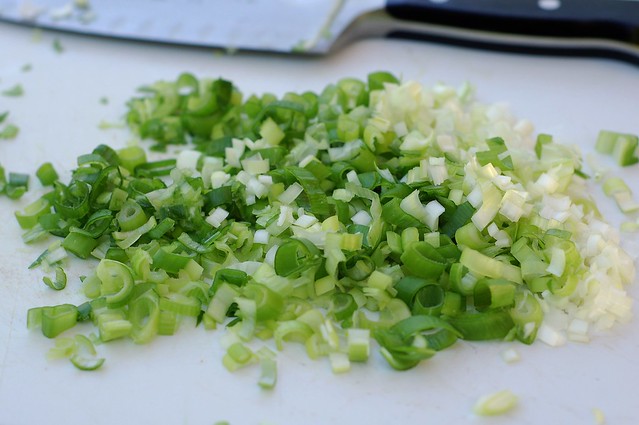
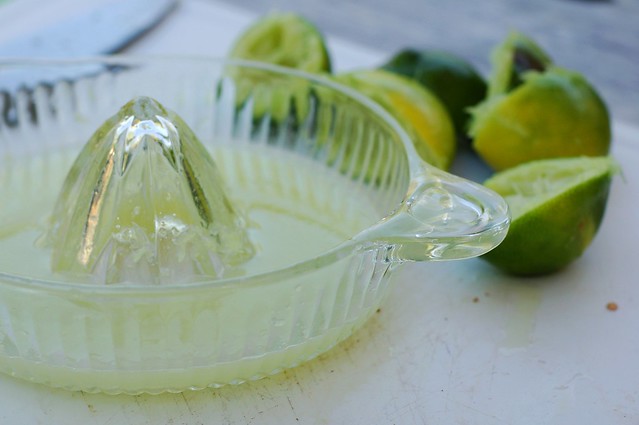
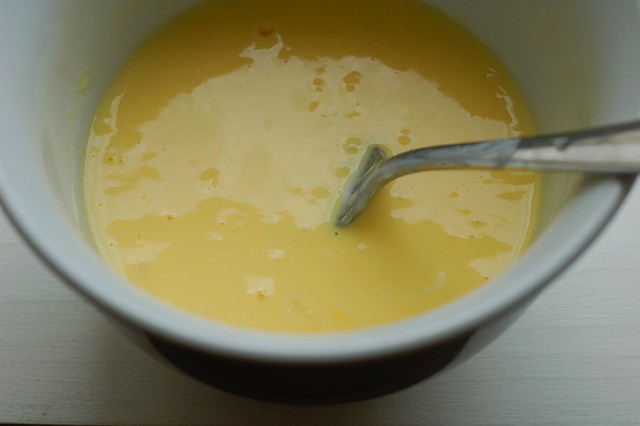
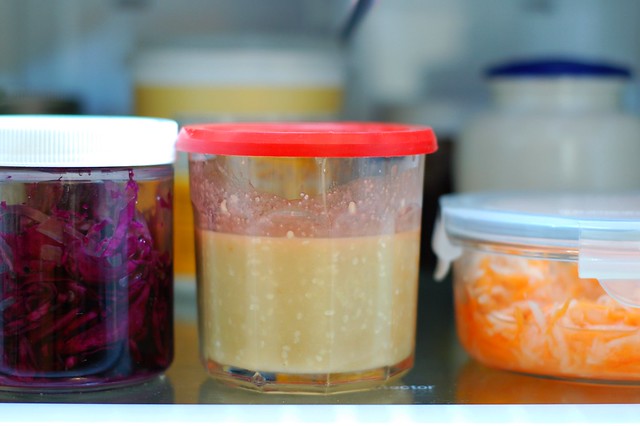
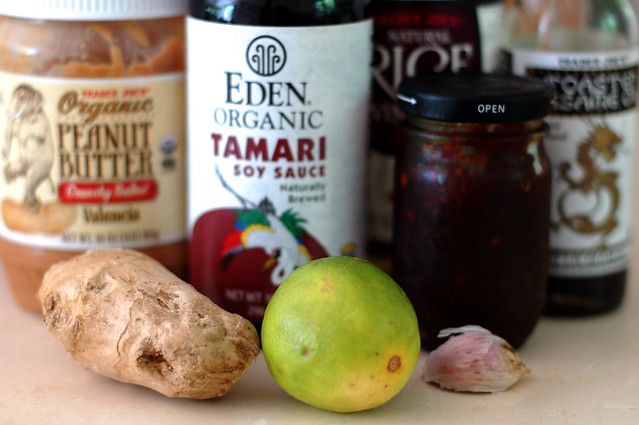
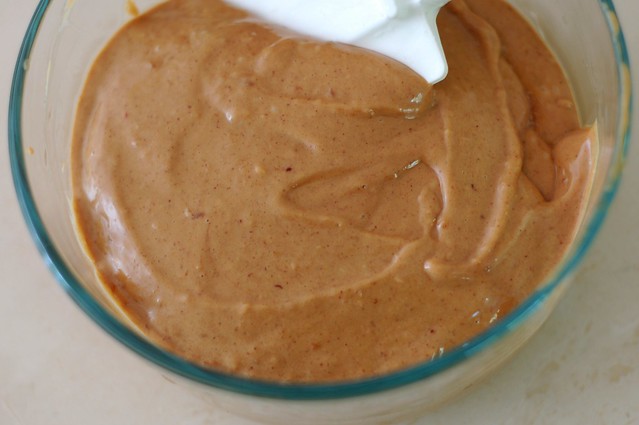
You take lots of peanut butter, some soy sauce, fresh ginger, garlic, brown sugar, rice wine vinegar, sesame oil, roasted red chili paste, and lime juice and put them all in a Cuisinart or blender. Add some hot water and blend until smooth. That's it. Boom! You're done! Well, except that now you have to wash your food processor which is not my favorite task but it's worth it.
Use a natural peanut butter - the ingredients should be either just peanuts or peanuts and salt. Make a lot. Enjoy!
-- print recipe --Quick, Gingery Peanut Sauce
Makes about 2 cups
Ingredients
* 1 cup natural peanut butter (chunky or smooth, it's up to you)
* 1/3 cup soy sauce
* 1/4 cup rice wine vinegar
* 2 Tbsps brown sugar
* 2 Tbsps roasted red chili paste
* Juice of one lime
* 2-inch knob of fresh ginger, peeled and roughly chopped
* 1 clove of garlic, peeled and roughly chopped
* 2 Tbsp sesame oil
* Up to 1/2 cup hot water, as needed, to thin the sauce
Directions
1. Place all the ingredients in the bowl of a food processor and blend, adding hot water slowly in a thin stream until the sauce reaches your desired consistency. Taste the sauce and adjust the seasonings to taste.
2. Store in an airtight container for up to a week in the refrigerator and add to anything you want to taste really good.
You might also like:
- Sesame Peanut Noodles with (or without) Shredded Chicken
- Miso Sesame Roasted Broccoli & Sweet Potato Rice Bowl
- Warm Kale Salad with Tahini Ginger Dressing & Avocado
For more delicious recipes, gardening ideas, foraging tips, and food-related inspiration "like" the Garden of Eating on Facebook, or follow me on Twitter and Pinterest.