I know, I know. You're probably thinking, "enough with the tomatoes!!" But I can't seem to stop... Bear with me, though, we'll be on to winter squash and root veggies ad nauseum soon enough.
I made these two tomato tarts with a green salad for lunch today. I can't help thinking of this lovely meal as summer's last gasp. The last tomatoes from the garden, the last arugala (I pulled the plants out this morning), the last few heart-breakingly crisp little cukes from our quickly withering vines...
I made these two tomato tarts with a green salad for lunch today. I can't help thinking of this lovely meal as summer's last gasp. The last tomatoes from the garden, the last arugala (I pulled the plants out this morning), the last few heart-breakingly crisp little cukes from our quickly withering vines...

The tarts were inspired by one that our friend, Kali, made for us this summer. The original recipe, which is much simpler than the one below - just pastry, tomatoes, thyme, olive oil, salt and pepper, is from Canal House Cooking Volume No. 4: Farm Markets & Gardens

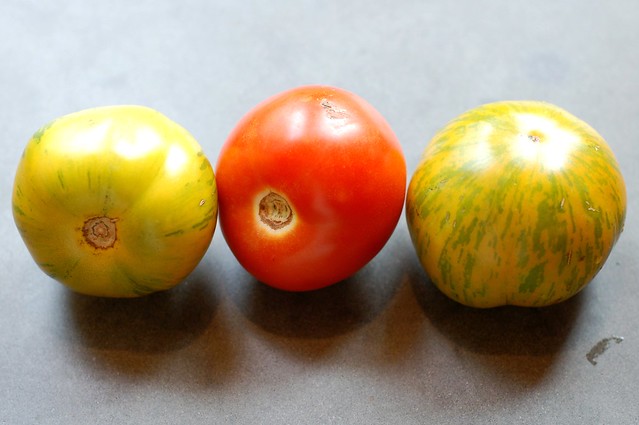
It's important to use only the best tomatoes -- you want something really sweet and rich for this since the flavor will be first and foremost.
Thankfully, our thyme plant is not bothered by the end of summer (unlike me) and was happy to oblige with a few tender stems.
Thankfully, our thyme plant is not bothered by the end of summer (unlike me) and was happy to oblige with a few tender stems.

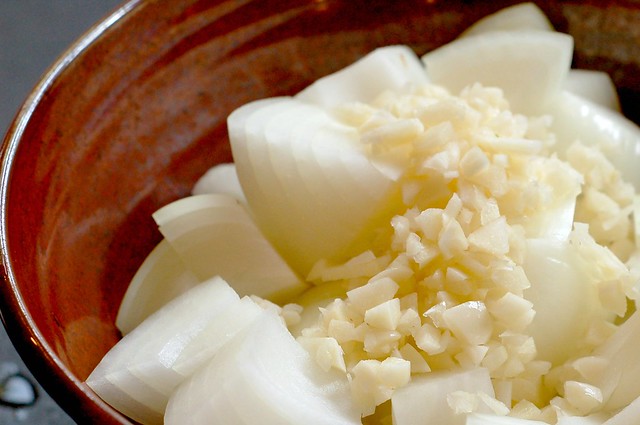
I am a huge fan of caramelized onions (though to be honest these were not truly caramelized, just sautéed with salt, pepper and a splash of balsamic vinegar) so I thought some alliums would make a nice addition, too.

The resulting tarts were mighty toothsome. I loved the addition of the cheese and the sweet onions. My only regret was that I had not thought to scatter some pine nuts on them (so I've added that in the recipe below).

My husband and I were divided in our opinions - I thought the goat cheese version was tastier while he favored the gruyère. It's a fortunate difference of opinion since we each have our eyes on the leftovers of our respective favorites...

Either way, this tart is easy and scrumptious. The puff pastry makes it look and taste decadent with extremely minimal work on your part. Effortless gourmet dining...

-- print recipe --
Tomato Tart
Makes one tart that serves 4-6 as an appetizer or 2-3 as an entree
Makes one tart that serves 4-6 as an appetizer or 2-3 as an entree
Ingredients
* 1 sheet puff pastry, defrosted
* 2 medium or 1 large tomato, cored and sliced (not too thick - you want to avoid too much weight or liquid as it will make the pastry soggy)
* 2-3 branches fresh thyme
* 4 oz goat or gruyère cheese
* 1 large onion, sliced
* Extra-virgin olive oil
* Freshly ground black pepper
* Sea salt
* Handful of toasted pine nuts
Directions
1. Preheat the oven to 375 degrees F. While you're waiting for the pastry to defrost, sautée the onions in a frying pan in olive oil until translucent. Splash with a little balsamic vinegar and continue to cook another 1-2 minutes.
2. Lay the sheet of puff pastry out on a parchment paper-lined baking sheet. Prick the dough inside the border all over with the tines of a fork to prevent it from puffing up too much during baking.
3. Spread a layer of whichever cheese you choose on the pastry. Top with the onions, then arrange the tomatoes on the pastry in a single layer (crowding or overlapping the tomatoes will make the puff pastry soggy). Strip the branches of thyme, scattering the leaves over the tomatoes. Drizzle the tart with some olive oil and season with pepper. If using gruyère, reserve a little cheese to sprinkle over the top.
4. Bake the tart until the pastry is crisp and deeply browned on the bottom and around the edges, 30-40 minutes. Season with salt and serve.
You might also like:
- Tomato Corn Pie With Butter-Brushed Biscuit Crust
- Sweet Corn and Zucchini Gratin with Fresh Basil
- Juicy Tomato, Sweet Corn & Basil Salad