The weather here in Berkeley has been unseasonable for the past few weeks - a string of dazzlingly sunny, hot days. But before Indian summer began, we had a brief spate of fall-like weather with crisp, windy days and very chilly nights.

It was during this "cold" spell that I got the urge to make mac 'n cheese. Oddly enough, I had never made real mac 'n cheese before. I checked out several recipes online and consulted a few cookbooks before I ended up settling on this classic recipe from the Joy of Cooking
The result was delicious -- creamy, melty pasta with a hint of sweetness from the onions topped with crispy browned fresh breadcrumbs. This classic comfort food is also quite addictive -- my husband and I both went back to the stove for seconds and thirds and so on...

-- print recipe --Baked Macaroni and Cheese
Serves 4-6 as a main dish
Ingredients
* 2 cups (8 oz) macaroni (elbow mac is the classic but you can use whatever you like)
* 2 1/4 cups grated sharp cheddar or Colby cheese
* 2 Tbsps butter (plus an additional tbsp for the breadcrumbs)
* 2 Tbsps all-purpose flour
* 2 cups milk
* 1/2 large onion, minced
* 1 bay leaf
* 1/4 tsp sweet paprika
* Sea salt and freshly ground black pepper to taste
* 1/2 cup fresh breadcrumbs
Directions
1. Preheat oven to 350 and grease a 1 1/2 quart baking dish.
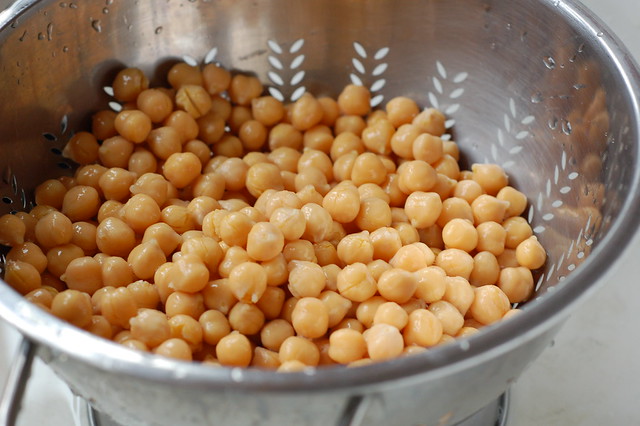
2. Bring 6 cups of water to a boil and add the macaroni. While the pasta is cooking, grate the cheese. Cook the pasta until al dente then drain and move it to a bowl or put it back in the pot.
3. Melt the butter in a large saucepan over medium-low heat then whisk in the flour and cook, whisking constantly to remove lumps, for three minutes.
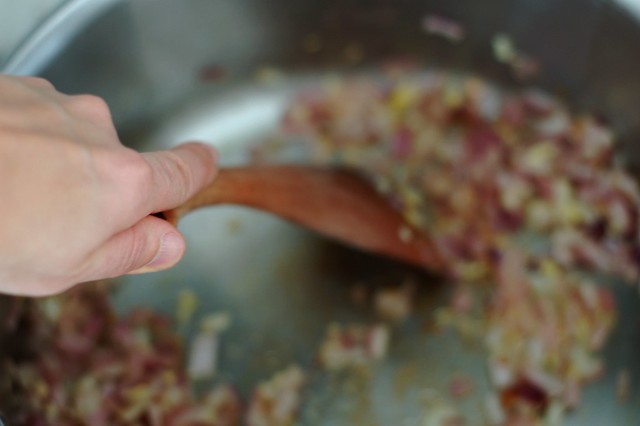
4. Gradually whisk in the milk then stir in the onion and add the bay leaf and paprika. Simmer gently for 15 minutes, stirring often. Remove from the heat and stir in 2/3 of the cheese. Season with salt and pepper to taste.
5. Add the macaroni and stir to combine. Pour half the mixture into the baking dish and sprinkle it with half of the remaining cheese. Add the rest of the macaroni mixture and top with the rest of the cheese.
6. Melt 1 tbsp butter in a small skillet and add the breadcrumbs. Toss to coat and cook for 30-60 seconds. Sprinkle the buttered breadcrumbs over the top of the macaroni in the baking dish and bake until the breadcrumbs are lightly browned, about 30-35 minutes. Let stand for 5 minutes before serving.
Serves 4-6 as a main dish
Ingredients
* 2 cups (8 oz) macaroni (elbow mac is the classic but you can use whatever you like)
* 2 1/4 cups grated sharp cheddar or Colby cheese
* 2 Tbsps butter (plus an additional tbsp for the breadcrumbs)
* 2 Tbsps all-purpose flour
* 2 cups milk
* 1/2 large onion, minced
* 1 bay leaf
* 1/4 tsp sweet paprika
* Sea salt and freshly ground black pepper to taste
* 1/2 cup fresh breadcrumbs
Directions
1. Preheat oven to 350 and grease a 1 1/2 quart baking dish.
2. Bring 6 cups of water to a boil and add the macaroni. While the pasta is cooking, grate the cheese. Cook the pasta until al dente then drain and move it to a bowl or put it back in the pot.
3. Melt the butter in a large saucepan over medium-low heat then whisk in the flour and cook, whisking constantly to remove lumps, for three minutes.
4. Gradually whisk in the milk then stir in the onion and add the bay leaf and paprika. Simmer gently for 15 minutes, stirring often. Remove from the heat and stir in 2/3 of the cheese. Season with salt and pepper to taste.
5. Add the macaroni and stir to combine. Pour half the mixture into the baking dish and sprinkle it with half of the remaining cheese. Add the rest of the macaroni mixture and top with the rest of the cheese.
6. Melt 1 tbsp butter in a small skillet and add the breadcrumbs. Toss to coat and cook for 30-60 seconds. Sprinkle the buttered breadcrumbs over the top of the macaroni in the baking dish and bake until the breadcrumbs are lightly browned, about 30-35 minutes. Let stand for 5 minutes before serving.
You might also like:
- Pumpkin Mac n' Cheese
- Rumbledethumps - Cabbage, Cheese and Potato Casserole
- Winter Vegetable Pie With Roasted Beets, Cabbage & Goat Cheese