These tried and true favorites make the most of what's fresh right now. Enjoy these six sweet ways to celebrate July's bounty of blueberries, peaches, raspberries and more.
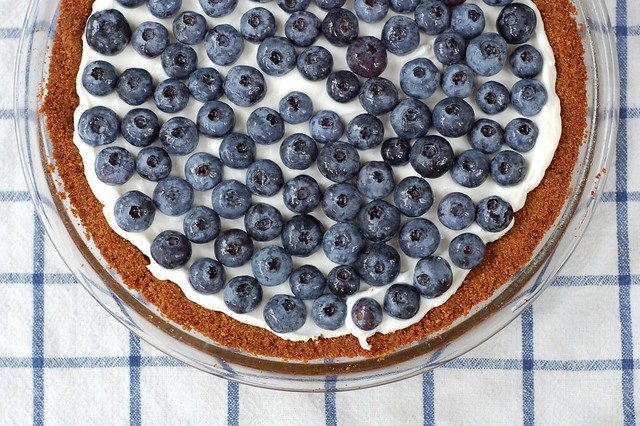
Blueberry Honey Yogurt Tart with Gingery Graham Cracker Crust
This chilled tart is the perfect way to end to a hot day. Drained Greek yogurt sweetened with a little honey provides a creamy, slightly tangy base for the fresh blueberries that are just coming into season. The crystallized ginger in the graham cracker crust adds a fabulous little zing.
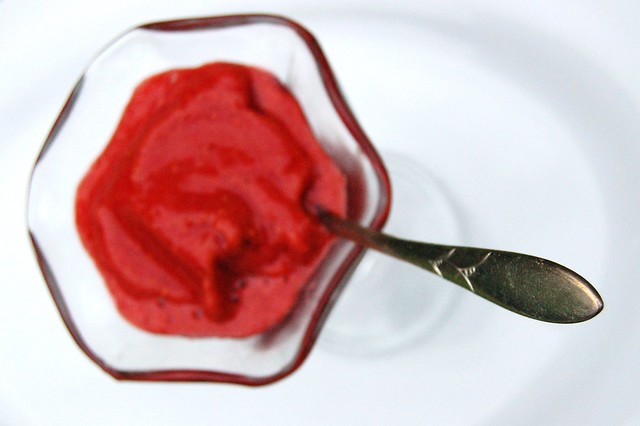
Wild Wineberry Sorbet
Wineberries are invasive but so tasty that I forgive them (more info on foraging for them here). Go pick some, then turn whatever actually makes it home with you into this refreshing, simple dessert. If you don't have wineberries, you can still enjoy this quick, cool dessert with good old raspberries.
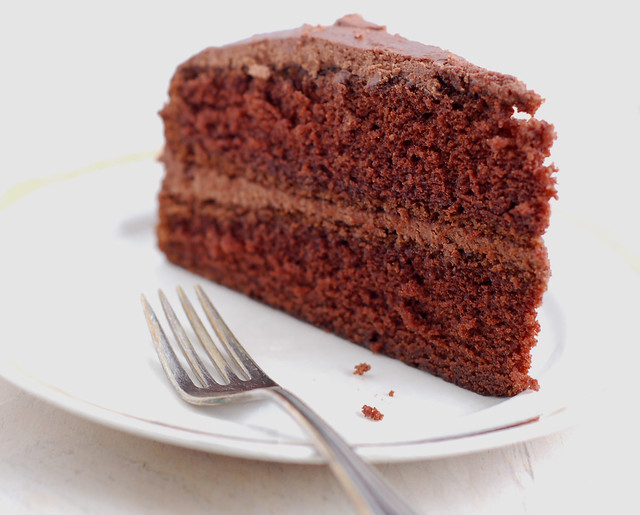
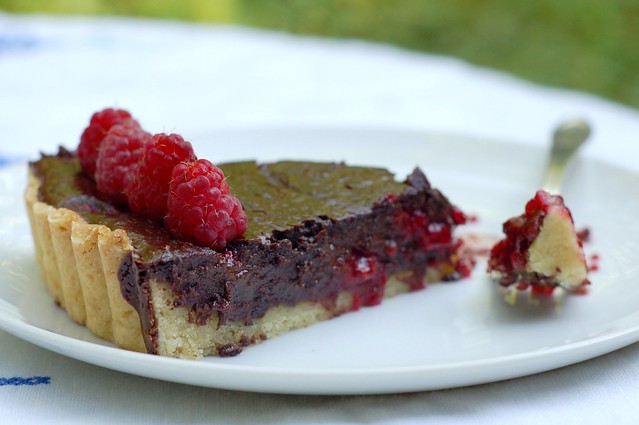
Chocolate Raspberry Tart
A buttery shortbread crust holds this out-of-this-world combination of chocolate and raspberries. It is so good! It takes a bit more time to prepare than most of the recipes here but is well worth the effort.
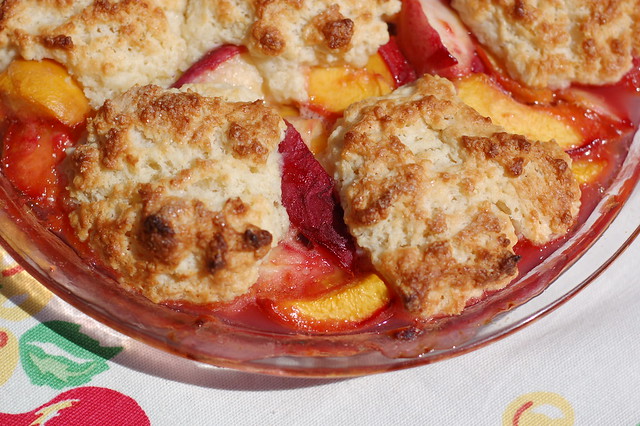
Peach Cobbler with Biscuit Topping
This is one of my go-to summer desserts. This perfect recipe comes courtesy of a Cook's Illustrated many years back. The biscuits are made with yogurt and come together quickly. You do have to turn the oven on but not for very long - less than half an hour total. Always a hit!
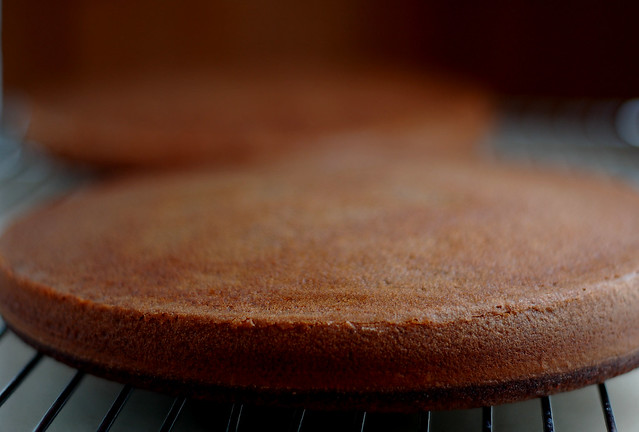
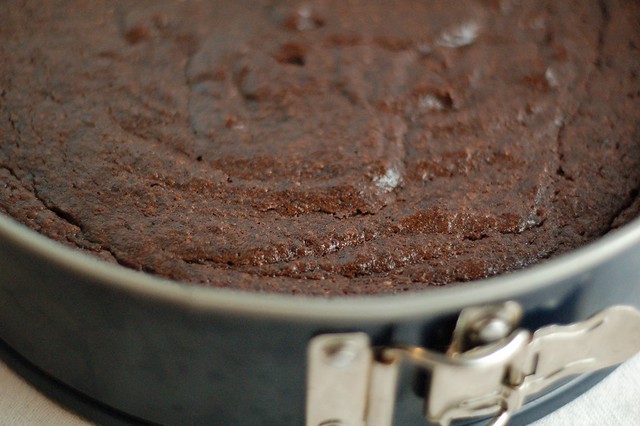
Dark Chocolate & Orange Beetroot Cake
This lovely chocolate cake gets both moisture and some of its sweetness from the beets that are just coming into season. Adapted from Sarah Raven's lovely cookbook, Fresh From The Garden, this cake has a perfect crumb and a fantastic, sophisticated flavor profile. You can drizzle with a chocolate glaze or serve it with fresh whipped cream sweetened with a little maple syrup.
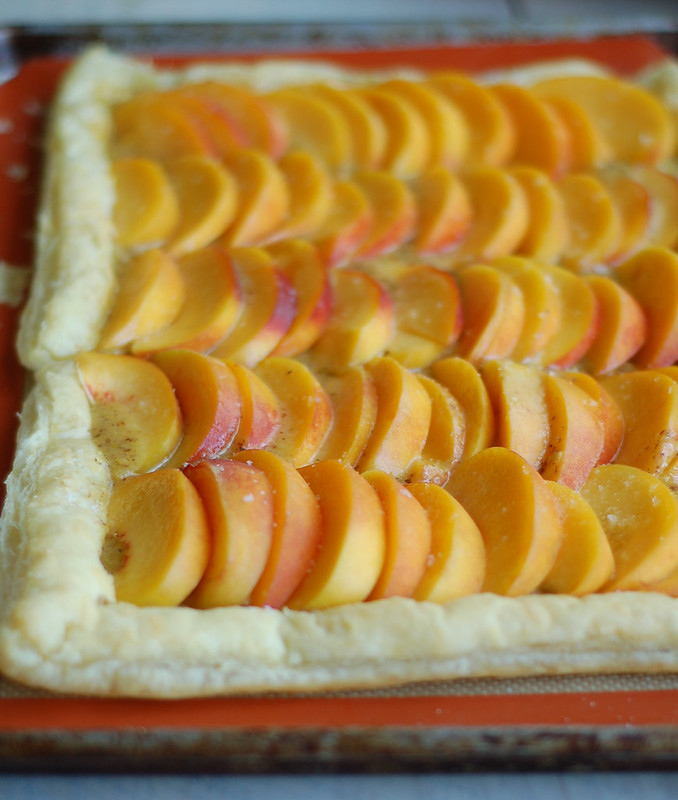
Peach Frangipane Tart
This lovely, rustic tart pairs the juicy sweetness of fresh peaches with the rich, nuttiness of frangipane nestled in a flaky, buttery crust. I use store-bought puff pastry to make life easier. Dufours puff pastry is the gold standard if it's available near you (though it is NOT cheap) (if you use it regularly enough, you can buy a 10-pack on Amazon) but any brand will yield a reliably tasty tart crust.
You might also like:
 |  Strawberry Panna Cotta |