Ours was a strange, rather subdued holiday this year, colored by the loss of a family member a few days before Christmas. But there were some much-needed bright spots in seeing family and friends and watching our two-and-a-half-year-old son gleefully unwrap (with significant parental assistance) what was probably far too many new toys.
After the frenzy subsided on Christmas morning and we'd put Will down for his nap, I found myself at loose ends. The week had been draining and very sad. I needed a break from thinking about how fragile, precious and fleeting life is for us all. My in-laws had been kind enough to share some of these gorgeous pears they'd received a few days earlier with us and I thought that I might find some solace in preserving them.

After a quick search of my three favorite preserving blogs (What Julia Ate, Tigress In a Jam, and Food In Jars, in case you were wondering) for inspiration, I settled on a modified version of Julia's Ginger Pear Preserves - lured by the exotic sound of the ginger and the beautiful color of the jam. I consulted the Ball Complete Book of Home Preserving
I put on an episode of Downton Abbey

Then I zested and juiced this neat little row of citrus fruits that had been slowly desiccating on our counter. I was glad to find a good use for them before they passed the point of no return...

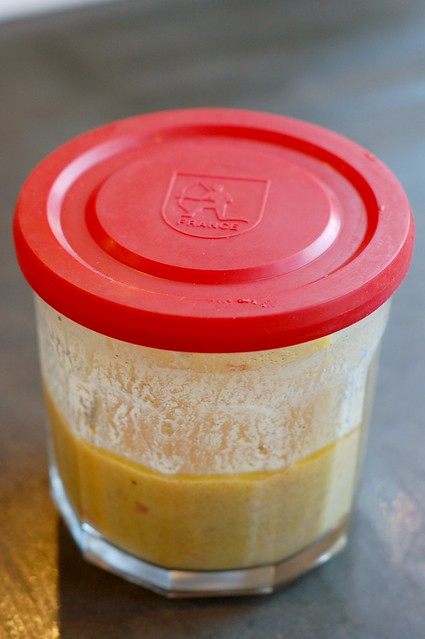
And ground up a bunch of cardamom seeds with the mortar and pestle. I love the strong, aromatic smell of cardamom - it's so unique - a hint of eucalyptus and citrus and cloves and something else that defies description. They may be little but these seeds are mighty potent -- if you don't store them carefully, your whole spice drawer will end up smelling like them.

Then I grated some ginger with my handy-dandy Microplane zester

Measured out sugar and vanilla extract, added the citrus zest and juice, sprinkled in some cinnamon and put it all up to simmer on the stove.

Once the pears had all softened, I used the immersion blender

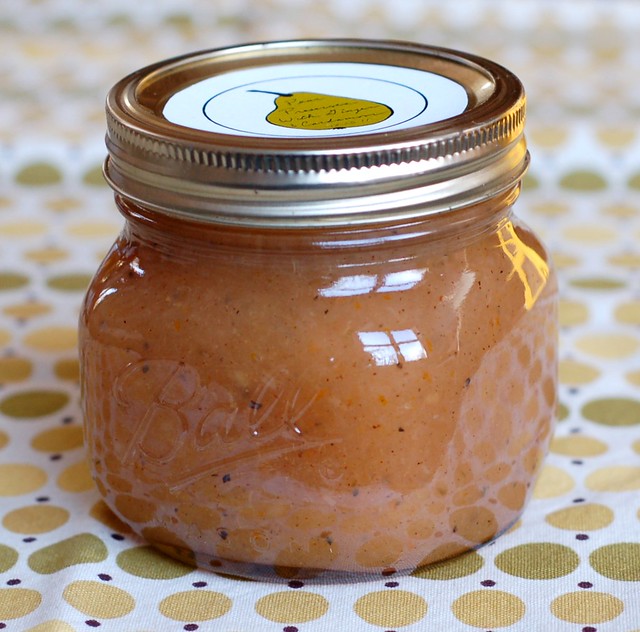
While I waited for the mixture to reduce enough to pass the sheet test, I put my canning pot on to boil and sterilized a bunch of pint and half-pint jars, lids and bands. I ladled the hot jam into the sterilized jars, applied the lids and screwed on the bands, boiled them for 10 minutes, and then set the jars out to cool overnight.

It's been a few years since I've created a label for any of my canned concoctions but I found time to whip up this little design during one of Will's naps last week. I knew I wanted to keep it simple so I drew the outline of a pear and wrote out the name of the preserve, then scanned both things and played around with them in Photoshop until they seemed to fit together.


-- print recipe --Pear Preserves With Cardamom & Ginger
Yields between 5-7 half-pint jars
Ingredients
* 5 1/2 cups diced, peeled, cored pears (about 8 pears)
* Grated zest and juice of 3 limes or tangerines
* 2 1/3 cups sugar
* 1 Tbsp grated ginger
* 1 tsp ground cardamom seeds
* 1 tsp ground cinnamon
* 1/2 tsp pure vanilla extract
Directions
1. Sterilize jars and lids in boiling water canner.
2. Combine all the ingredients in a large saucepan and bring to a boil over medium heat, stirring to dissolve the sugar. Boil, stirring frequently, until the mixture thickens, about 15 minutes. Remove from heat and test to see if it has reached the gel stage. If the preserves fall from the spoon in a single sheet, it is at the gel stage. If your mixture has not reached the gel stage, return the pan to medium heat and cook, stirring constantly, for an additional 5 minutes. Repeat gel stage test and cooking as needed.
3. Ladle the hot preserves into hot jars leaving 1/4 inch headspace. Remove any air bubbles. Wipe the rims. Center the lids on the jars. Apply bands until the fit is fingertip tight.
4. Process the jars in a boiling water bath canner for 10 minutes, adjusting for altitude. Turn off the heat and let the jars sit for 5 minutes then remove the jars and let cool in a draft-free spot overnight. Check the lids for seal after 24 hours - they should not flex up and down when the center is pressed. Store in a cool, dark place for up to one year.
Alternatively, if you don't want to mess with the canning, you can skip the whole jar sterilizing and boiling water bath process and just store in clean, air-tight jars in the refrigerator for up to a month.
You might also like:
For more delicious recipes, gardening ideas, foraging tips, and food-related inspiration "like" the Garden of Eating on Facebook, or follow me on Twitter and Pinterest.