Just think, in a few short years, we can walk out our door and snap tender green asparagus right out of our own beds. It doesn't get any fresher than that.
Although we're clearly at the beginning of the process, the planting was easy. Here's how it went in case you'd like to make a similar investment in your edible future.
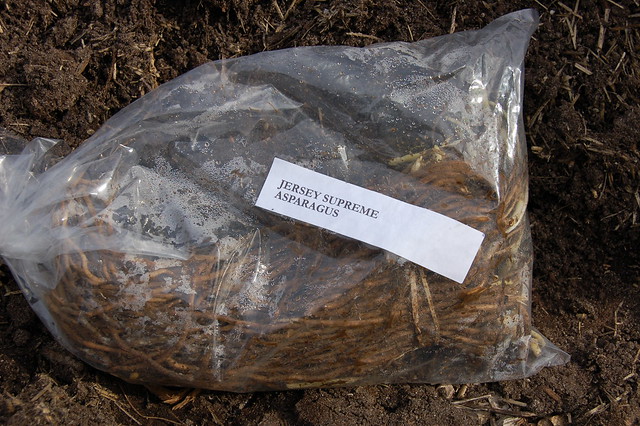
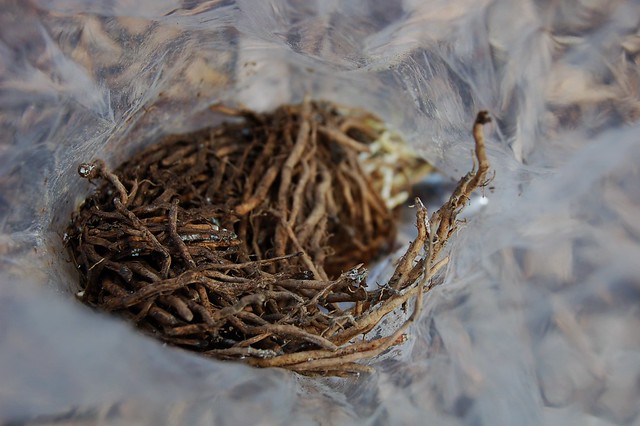
1. We ordered 25 second-year Jersey Supreme asparagus crowns
If ordering plants online is not your bag, you should be able to get them from a local nursery, in season. Although there are a number of varieties, the basic differences boil down to green or purple. Although the purple ones are really pretty, they turn green when you cook them so we just opted for the plain old green ones. Per the grower's directions, we stored the bag of crowns in the fridge while we readied their bed.
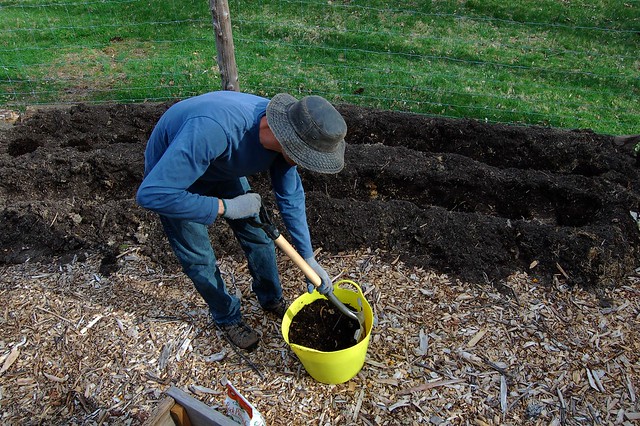
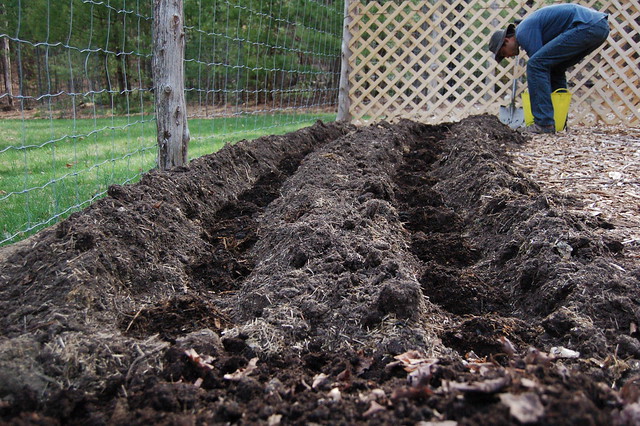
2. My husband, Rahm, dug a roughly 8-inch trench for them to grow in (anything from 6 - 12 inches deep is fine). We planted two rows side by side with about two feet between them.
3. He mixed a good amount of our rich composted dirt with a little rock phosphate
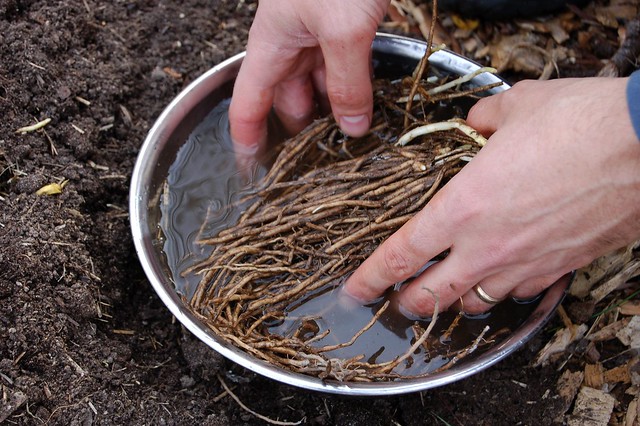
4. Meanwhile, I removed the crowns and soaked them briefly in warm (not hot!) water.
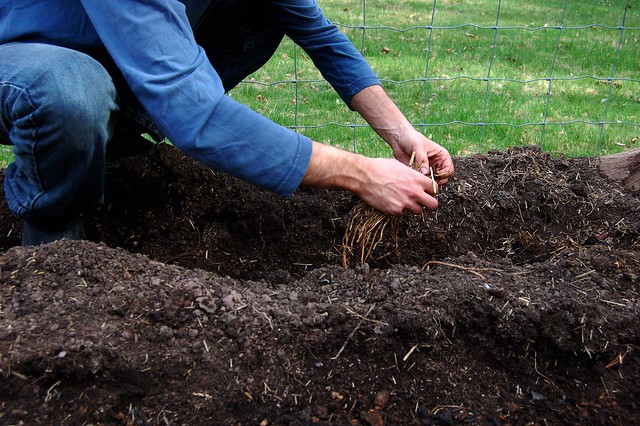
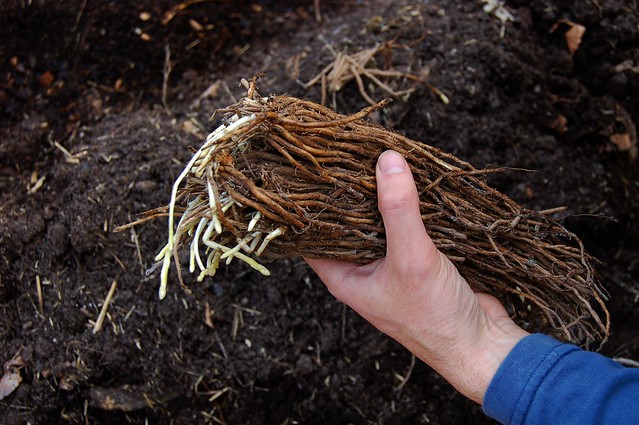
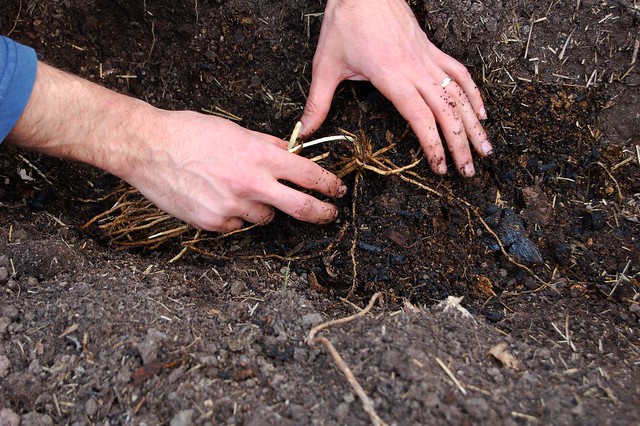
5. Then we untangled the roots of each crown and laid the spidery looking things right on top of the little compost mounds.
6. Rahm came back through the row and covered the mounds and crowns with about two inches of good dirt, not compost.
7. We would have watered but it was supposed to (and did) rain so we just waited a few hours and they got a good watering in. But you should water if you're not due for a good soaking.
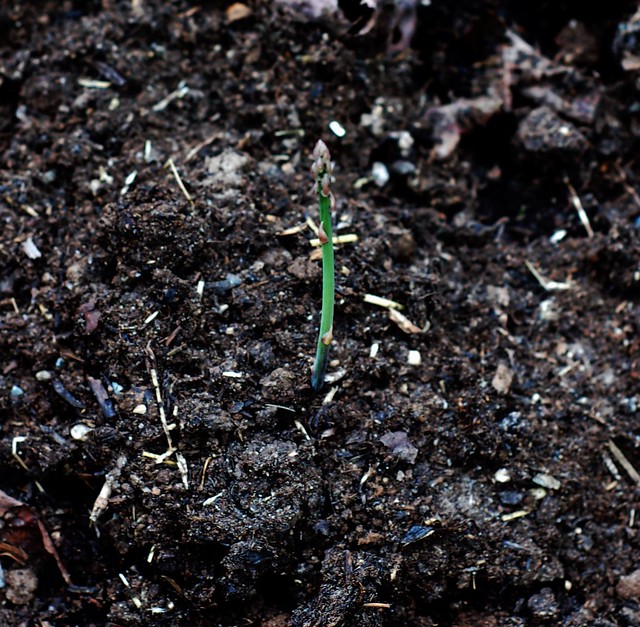
8. Then came the really hard part - waiting for the crowns to put down roots and send up shoots. Everything I read said this takes about a month but we spotted the first proud little sprout two days ago! And a day or so later, little greenish-red heads were breaking through the soil all along the rows.
Once the greens have poked up about five inches above the surface, we'll cover the trench with another thin layer of soil, leaving the top 3-4 inches of the stems exposed. And we'll repeat that process until the trench is level with the ground around it. Then we'll mulch the bed thickly to discourage weeds and let the plants go "vegetative" as the Farmers Almanac calls it. This lets the roots store up energy and helps them get established. In the fall, we'll cut the dead foliage back and side dress with compost.
9. Apparently, we can harvest a few spears next year but should leave the bulk of them to do their thing and die back on their own, simply trimming the dead foliage in the fall (you can leave it right on top of the dirt to decompose if you like), then dressing with compost and mulching well.
10. Once the beds hit their stride in the third year, we can harvest any spears that are thicker than a pencil. The harvest lasts for about 2-3 weeks. If we have too many, we'll pickle some (so good!) and asparagus also freeze well. Once the harvest has ended, we let the ferns grow to help give the plants more energy for the next year. The beds should produce for at least 20-25 years!!! Just think of all the delicious meals and stinky pee we have ahead of us :)
You might also like:
- Grow Your Own Garlic - It's So Easy!
- Why You Should Pee On Your Compost
- Grow A Years' Worth of Delicious Sweet Potatoes From A Few Organic Supermarket Sweet Potatoes


Eve This is SO EXCITING! Here, it is three years from planting to harvest. How about for you? Too bad you cannot harvest those teeny little asparagus spears...they look luscious. Had the once with sauteed rabbit liver. Yum!
ReplyDelete